
Last updated November 14, 2026
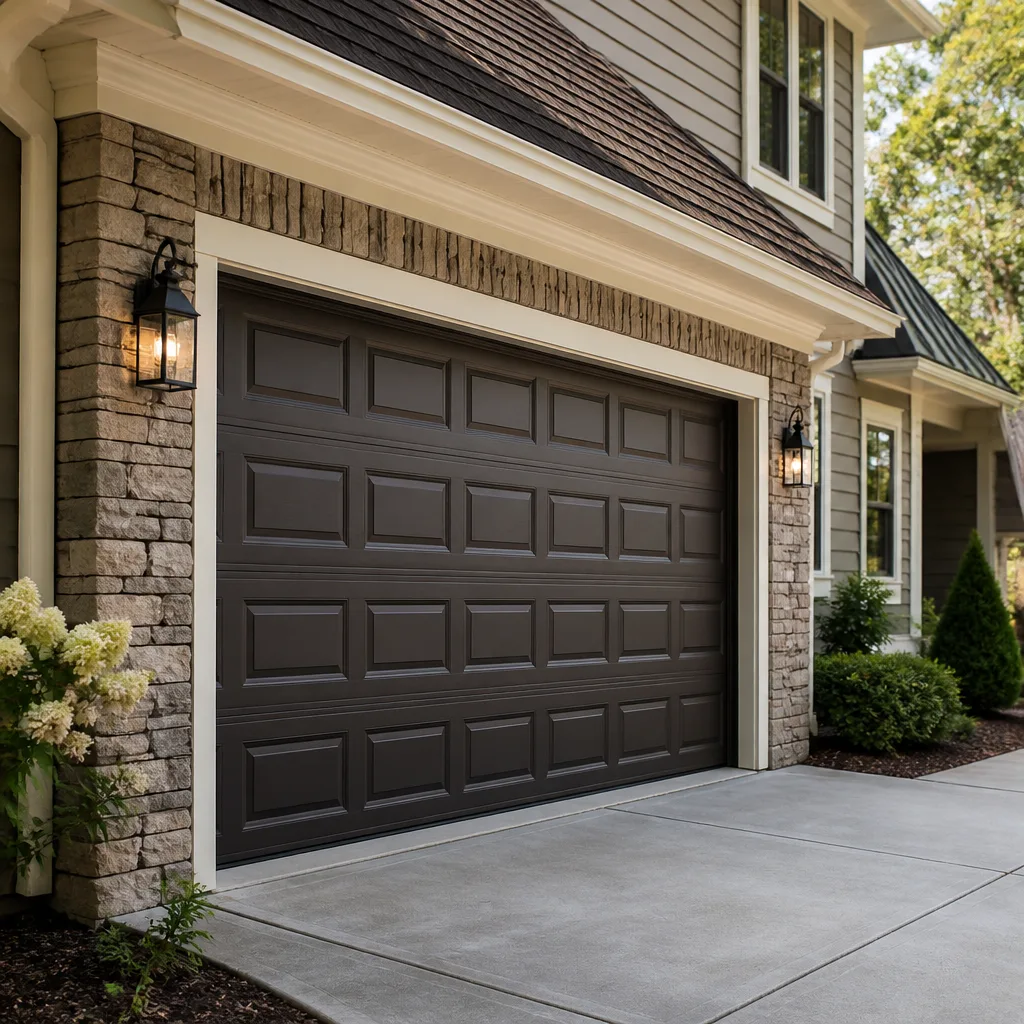 Raised-panel steel
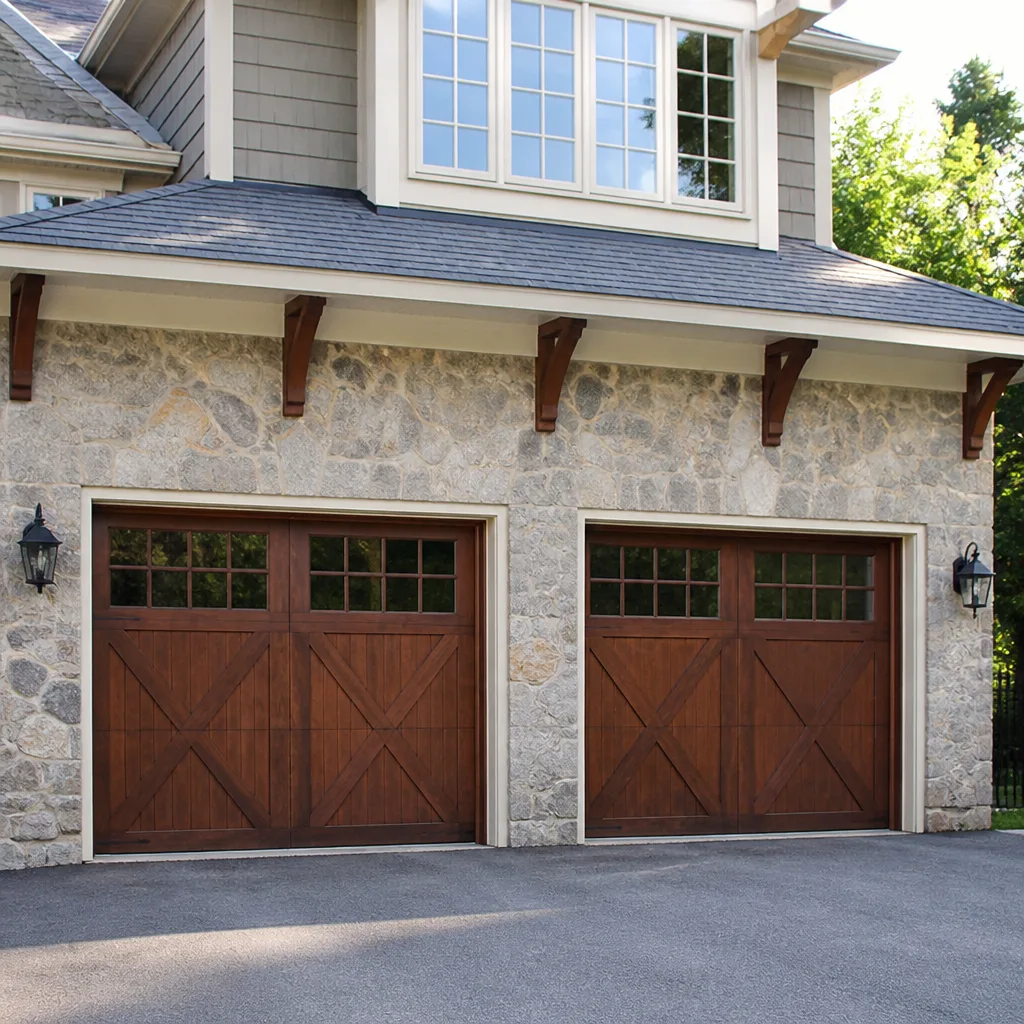 Carriage house
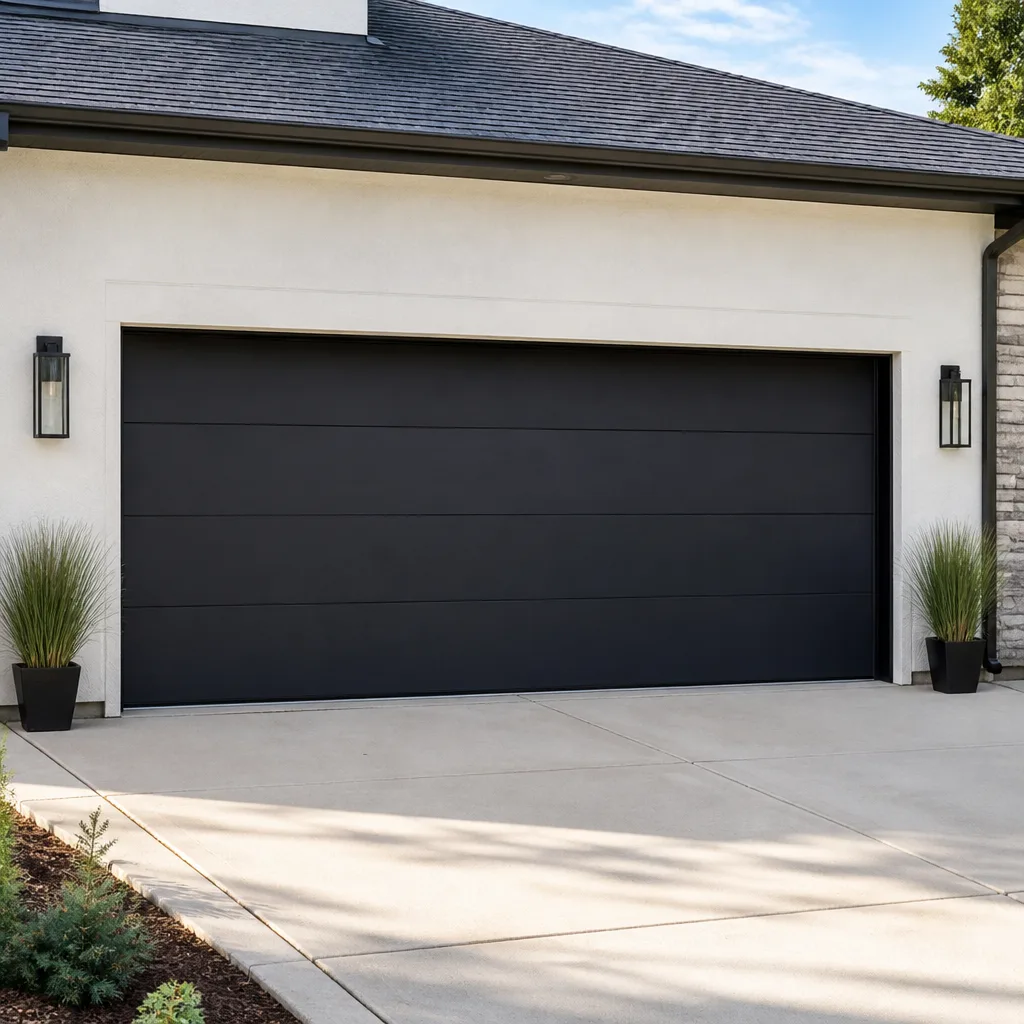 Modern flush
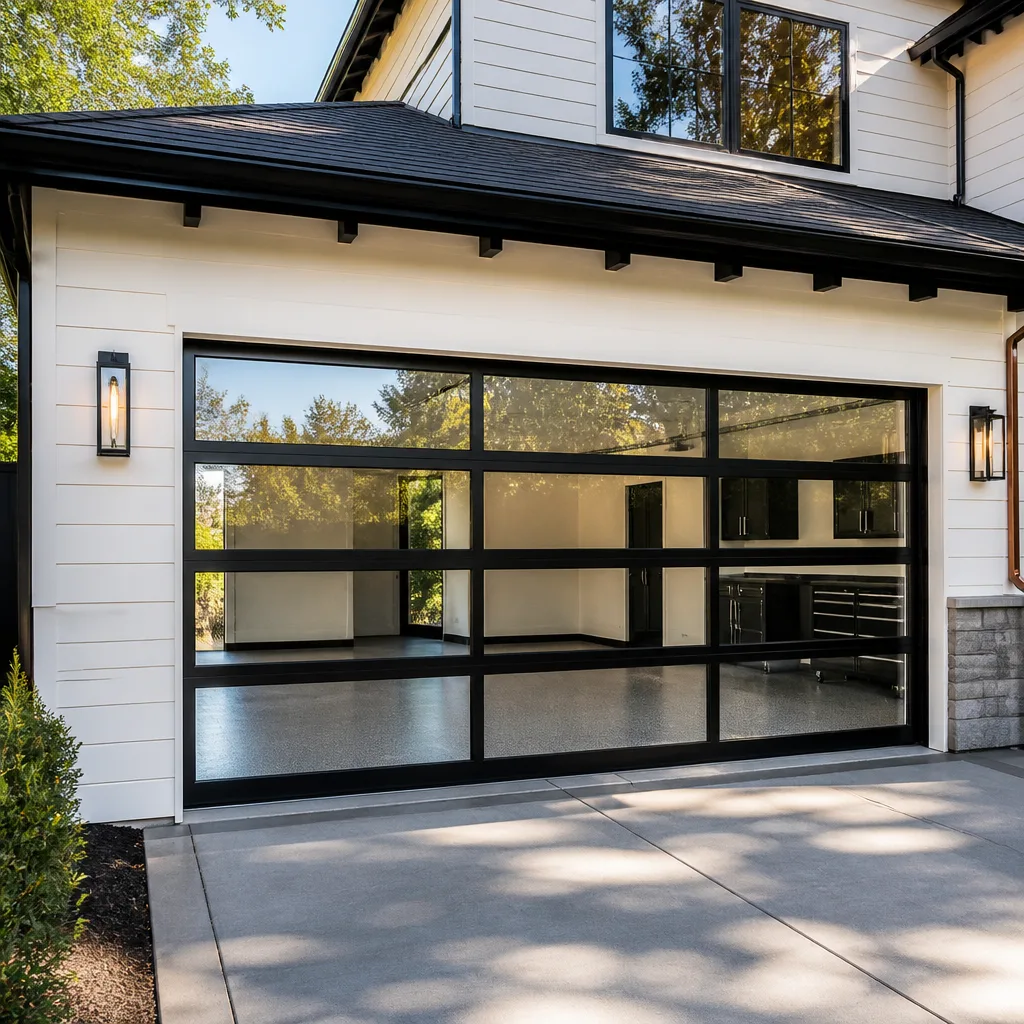 Full-view glass
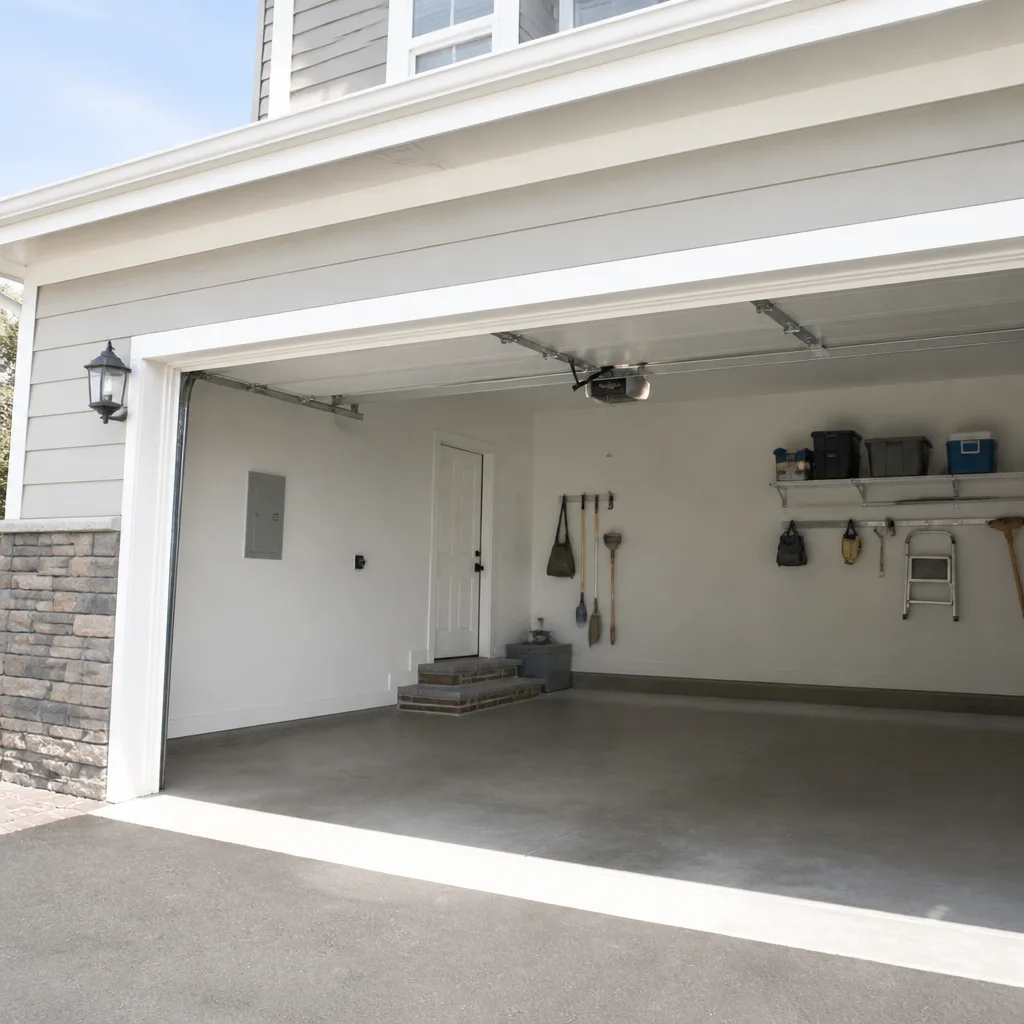 LiftMaster openers
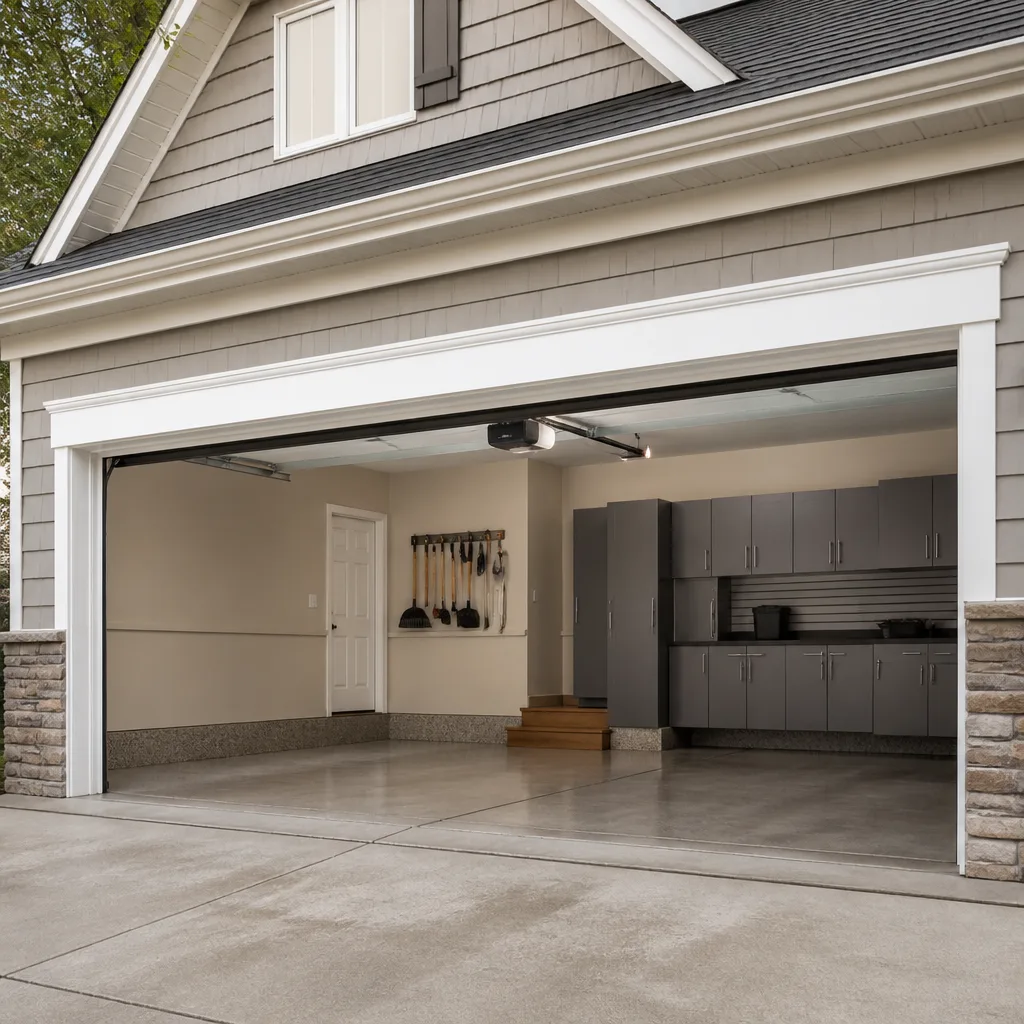 Chamberlain openers
Full 25-point door and opener safety check with every visit - springs, cables, rollers, tracks, and your LiftMaster or Chamberlain opener included
You get a price before we start. It does not change when the pro arrives.
Get your free estimateGarage Door Repair Troubleshooting in Elizabeth: Common Problems and How to Fix Them
The door that “won’t open” is almost never broken in just one way. From the driver’s seat at 7 a.m., a dead opener, a snapped torsion spring, a jammed track, and a photo-eye knocked out of alignment all look identical: you press the remote, nothing happens, and you’re late. That’s the trap most troubleshooting guides fall into. They list parts, not symptoms, so homeowners end up guessing. This guide flips that around. We organize garage door troubleshooting in Elizabeth by what you’re actually seeing and hearing, so you can tell within minutes whether you’re looking at a five-minute fix or a job that needs a trained technician. You’ll also get the safety checks to run before you touch anything, and the clear stop-here points where DIY becomes dangerous.
Quick Answer
Most garage door problems fall into four categories: the door doesn’t move at all, it moves but strains or stalls, it moves but makes new noise, or it reverses and won’t stay shut. Power, remote, and safety-eye issues account for many “dead door” calls and are safe to check yourself. A snapped torsion spring, a frayed cable, or a door that has come off its track is a stop-here situation that needs a trained professional, not a DIY attempt.
Styles & brands we work with
- Raised-panel steel
- Carriage house
- Modern flush
- Full-view glass
- LiftMaster openers
- Chamberlain openers
Table of Contents
- Start With Symptoms, Not Parts
- The Door Won’t Respond at All
- The Door Moves Partway Then Stops
- New Noises: Grinding, Squealing, and Banging
- How Elizabeth Weather Works on Older Doors and Frames
- Reading Your Opener’s Blink Codes
- The Safety Test Sequence Before Any Repair
- When to Stop and Call
Start With Symptoms, Not Parts
Every garage door repair call we handle starts the same way at the phone: we ask what the door is doing, not what part the homeowner thinks is broken. That order matters. The symptom tells you which system to look at first, and it keeps you from replacing a part that was never the problem. A door that hums but won’t lift is usually a mechanical issue in the door itself, not the motor. A door that does nothing at all is usually an electrical or signal problem. Same complaint from the driver’s seat, opposite repair.
Here’s the symptom-first map we use, and you can too:
- No response at all. No sound, no movement, no light flicker. Look at power and signal first.
- You hear the opener run but the door doesn’t move. The motor is working; the connection between motor and door isn’t.
- The door starts to move, then reverses or stalls. Safety system, binding, or balance problem.
- The door moves but the noise is new. Wear, loose hardware, or a failing roller, hinge, or bearing.
Notice that torsion springs, cables, rollers, and openers don’t appear as categories. That’s on purpose. Naming a part before you know the symptom cluster is how homeowners end up buying the wrong fix. In Elizabeth, where a lot of the housing stock is older and garages have been modified, added onto, or had openers swapped more than once, guessing gets expensive fast. If you’d rather skip the guesswork entirely, our garage door repair team starts from the symptom too and works backward to the cause.
The Door Won’t Respond at All
A totally silent, unmoving door is the most common call we get, and it’s also the one with the most safe, self-checkable causes. Before you schedule anything, run through this sequence. It takes about three minutes.
- Check the power. Confirm the opener is plugged in and the outlet works. A wall switch or breaker that tripped during a storm can leave the opener dead.
- Test the wall button. If the wall control opens the door but the remote doesn’t, the problem is your remote or its battery, not the opener.
- Look at the safety eyes. The two small sensors near the floor on each side of the opening must face each other and both have a lit indicator. Sun glare, a spider web, a bag of recycling, or a bumped bracket can break the beam and the door will refuse to close.
- Check the manual release. If the door was pulled into manual mode and never reconnected, the opener will run but the door stays put. Look at the trolley and the release cord.
- Look for a lock or vacation mode. Many openers have a lockout feature that ignores remotes. One button press can leave you locked out of your own garage.
If all five check out and the door is still dead, you’re likely looking at a control board, capacitor, or motor issue. That’s opener-specific work, and it’s a technical niche many general handymen avoid. Our garage door opener repair technicians handle it across the leading platforms, including LiftMaster and Craftsman. Your system, our expertise: we work on what you already have.
The Door Moves Partway Then Stops
A door that lifts a foot and stops, or rises halfway and reverses, is telling you the opener is fine but something is fighting it. The most common culprits are a binding track, a worn roller, a door that’s out of balance, or a safety sensor that trips mid-travel. The opener’s safety system is designed to reverse when it senses resistance, so a door that suddenly reverses on the way down is doing its job, not failing.
Try this before assuming the worst:
- Disconnect the opener and lift the door by hand. If it’s heavy or won’t stay open at waist height, the springs are out of balance or worn. That’s a spring issue, and spring work is in the stop-here category (more on that below).
- Look at the tracks. A track that’s bent, dented, or pushed out of alignment will bind the rollers. You can see misalignment with the door down; a straight edge along the track tells you a lot.
- Check the safety eyes again. The beam can be interrupted by an object that slides into view only as the door moves.
- Check the travel limits. On many openers, the up and down limits can drift or get bumped. If the door stops at the same point every time, suspect limits.
In Elizabeth’s older two- and three-family homes, we often find doors that have been pushed out of balance for a while, and the opener has been carrying the extra weight. That eventually kills the motor. Catching a partial-travel problem early saves the opener too. If you’re not sure where the resistance is coming from, that’s the moment to get a trained eye on it rather than keep cycling the door.
New Noises: Grinding, Squealing, and Banging
Noise is the earliest warning a garage door gives you. A door that’s been quiet for years and suddenly makes a sound is telling you something has changed. Match the sound to the cause:
- Squealing or high-pitched whine. Dry or worn rollers, or a dry torsion shaft. Rollers are a routine replacement, and the fix is usually a roller swap plus proper lubrication, not a new opener.
- Grinding. Metal on metal, often a roller that’s frozen and dragging along the track, or a track that’s been hit and bent.
- Banging or popping. Loose hinges, loose track bolts, or a torsion spring that’s starting to fail. A single loud pop followed by a door that won’t lift is the classic sign of a broken spring.
- Rattling at the opener. Loose mounting hardware or a chain that needs tension or replacement.
Most of these are safe to look at and safe to describe over the phone. A trained technician can usually tell you which one you’re hearing in the first minute. What we don’t recommend is climbing a ladder to lubricate or “adjust” a torsion assembly yourself. The parts up there under tension are the dangerous ones. For brand-specific systems, whether it’s a Wayne Dalton door or a Raynor, the repair approach is the same; the hardware is what changes.
How Elizabeth Weather Works on Older Doors and Frames
Elizabeth’s climate swings hard between seasons. Hot, humid summers and cold winters with real snow and ice aren’t just a comfort issue; they work directly on your garage door, its frame, and its seals. The single biggest thing we see in Elizabeth’s older housing stock is wood that swells in summer humidity and shrinks in winter cold. That movement changes how the door sits in its opening.
What that means in practice:
- Bottom seals. Rubber or vinyl bottom seals crack and harden in cold snaps and can split or pull loose. A failed seal lets water, snow, and cold air in, and it changes how the door seats when it closes.
- Wood jambs and stops. Older wood frames absorb summer humidity, then shrink in winter, leaving gaps or causing the door to drag against a swollen stop. If your door suddenly binds in July, the frame may be the cause, not the door.
- Hardware and rollers. Cold makes lubricant stiff and metal more brittle. Rollers and hinges that ran quietly all summer can start to squeal in the first cold week.
- Track alignment. A frame that moves seasonally can nudge the track out of plumb. A door that only misbehaves in one season is usually a sign of frame movement, not a worn part.
If your garage door problems are seasonal in Elizabeth, the fix usually isn’t a new door. It’s seals, stops, and alignment. That’s the repair-before-replace call, and it’s one to make before throwing money at parts you don’t need. For a look at how we handle local jobs, our page on Elizabeth covers the area we serve.
Reading Your Opener’s Blink Codes
Your opener already knows what’s wrong, and it’s telling you with a sequence of blinks from the LED on the motor head or the wall control. You just need to know what the pattern means. Here’s the general way to read them across the most common brands without hunting for a manual:
- Count the blinks in a sequence. Blinks are usually grouped: a short pause between counts, a longer pause between full sequences. Count one full sequence before you try to read it.
- Match the sequence to a category. Nearly every brand uses blinks to signal the same handful of things: safety sensor obstruction or misalignment, a wiring fault, a travel limit issue, a logic or control board fault, or a motor/force issue.
- Write down the number and the pattern. “Four blinks, then a pause, then four again” is what you tell the technician. It narrows the repair before anyone arrives.
- Don’t clear it by unplugging. A power cycle can wipe the stored code. Note the pattern first, then try a reset if you want.
LiftMaster and Chamberlain openers use a broadly similar blink language, since they share a design lineage, and Genie uses its own pattern set. Craftsman and Wayne Dalton openers have their own quirks. We work across all eight of the major brands, so when you read us a code, we usually know what it means before the truck leaves. That’s the “eight brands, one call” idea in practice: you’re not hunting for a brand-specific shop.
The Safety Test Sequence Before Any Repair
Before you attempt anything, run these checks. They tell you if the door is safe to operate at all, and they’ll flag the problems that make the door dangerous to keep using. This is about testing, not taking things apart.
- Manual release test. With the door closed, pull the manual release and lift the door by hand. It should lift smoothly and stay open at waist height. If it’s heavy, drops, or won’t stay up, stop: the springs or balance system needs a professional.
- Auto-reverse test (mechanical). With the door open, lay a solid object like a scrap of two-by-four on the floor in the door’s path and close the door. It should reverse on contact. If it doesn’t, the safety system is compromised, and you should not operate the door until it’s fixed.
- Photo-eye test. Close the door by remote while waving an object across the safety beam near the floor. The door should reverse or refuse to close. If it doesn’t, the eyes are misaligned or faulty.
- Visual inspection from the ground. Look at the tracks for dents or misalignment, the cables for fraying, and the springs for a visible gap or a clean break. Don’t put a ladder up under the torsion assembly. Look from a distance.
If the auto-reverse test fails, that’s the most important finding of the day, and it’s a repair that shouldn’t wait. A door that won’t reverse on contact is a real hazard, especially in an Elizabeth home with kids or a driveway that sees a lot of foot traffic. Our technician experience goes up to 8 years, and this is the test we run first on every visit.
When to Stop and Call
Some garage door problems are safe to diagnose yourself. Some are not safe to touch, and there’s no DIY shortcut that makes them safe. Here’s the stop-here line:
- A snapped or visibly broken torsion spring. You’ll usually see a gap in the coil or hear a loud pop, and the door won’t lift. Torsion springs are under extreme tension. Touching them without the right tools and training can cause serious injury. Stop. Call.
- A frayed or detached cable. Cables are under tension too, and a cable that’s failed can whip. Don’t try to re-attach it yourself.
- The door has come off its tracks. A door dangling off its rollers can fall. Don’t try to force it back on. Keep people clear of the opening.
- A door that drops suddenly or won’t stay open. That’s a balance failure, and it points back to the springs.
- A motor that hums but won’t move the door. If the door is too heavy for the opener, forcing it risks burning out the motor too.
We know it’s tempting to watch a video and try the spring yourself. We’d rather you didn’t. High-tension springs and cables are the single most dangerous part of the system, and a trained professional is the right call. The rest of your door is probably fine. Let a professional handle the dangerous part, and you can still save money by catching the small stuff early.
Common Mistakes to Avoid
- Forcing a stuck door open or closed. Forcing a binding door can bend the track and turn a minor repair into a major one. If it won’t lift by hand with the opener disconnected, it shouldn’t be forced.
- Replacing the opener when the door is the problem. If a door is out of balance or binding, a new opener will just work harder and fail sooner. Fix the door first.
- Lubricating and hoping. A squeal can be a warning, not a nuisance. Grease the rollers after you’ve identified the cause, not instead of it.
- Ignoring the auto-reverse test. A door that fails to reverse on contact is a safety hazard, and in an Elizabeth home with kids or pets, it’s a risk that can’t wait.
- Assuming seasonal binding means a new door. In Elizabeth’s humidity and winter swings, a swollen or shrunken wood frame is often the cause. Seals and stops are a cheaper first fix.
- Unplugging the opener to “reset” before reading the blink code. You’ll wipe the code and lose the fastest diagnostic you have.
- Trying torsion spring or cable work as a weekend project. This is the mistake that puts people in the hospital. Stop at the springs and cables.
See the difference
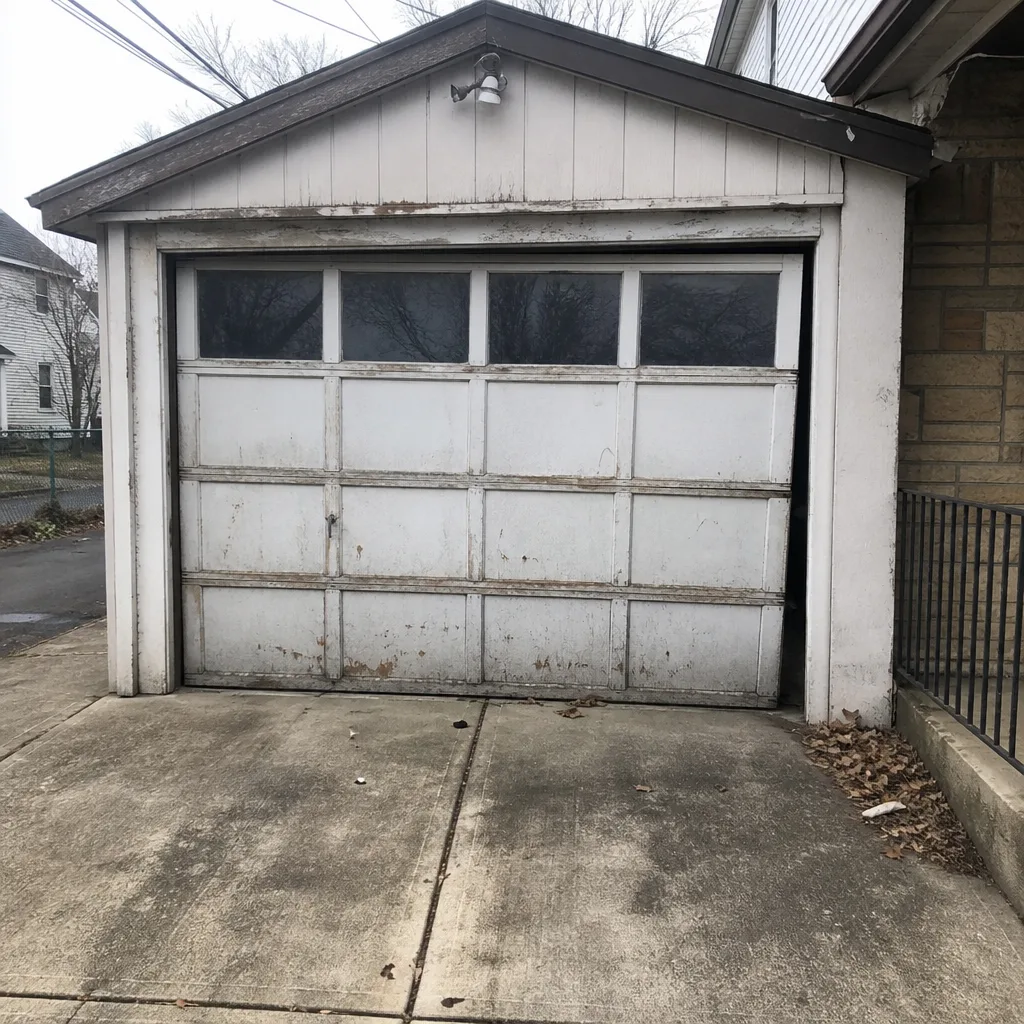 Before
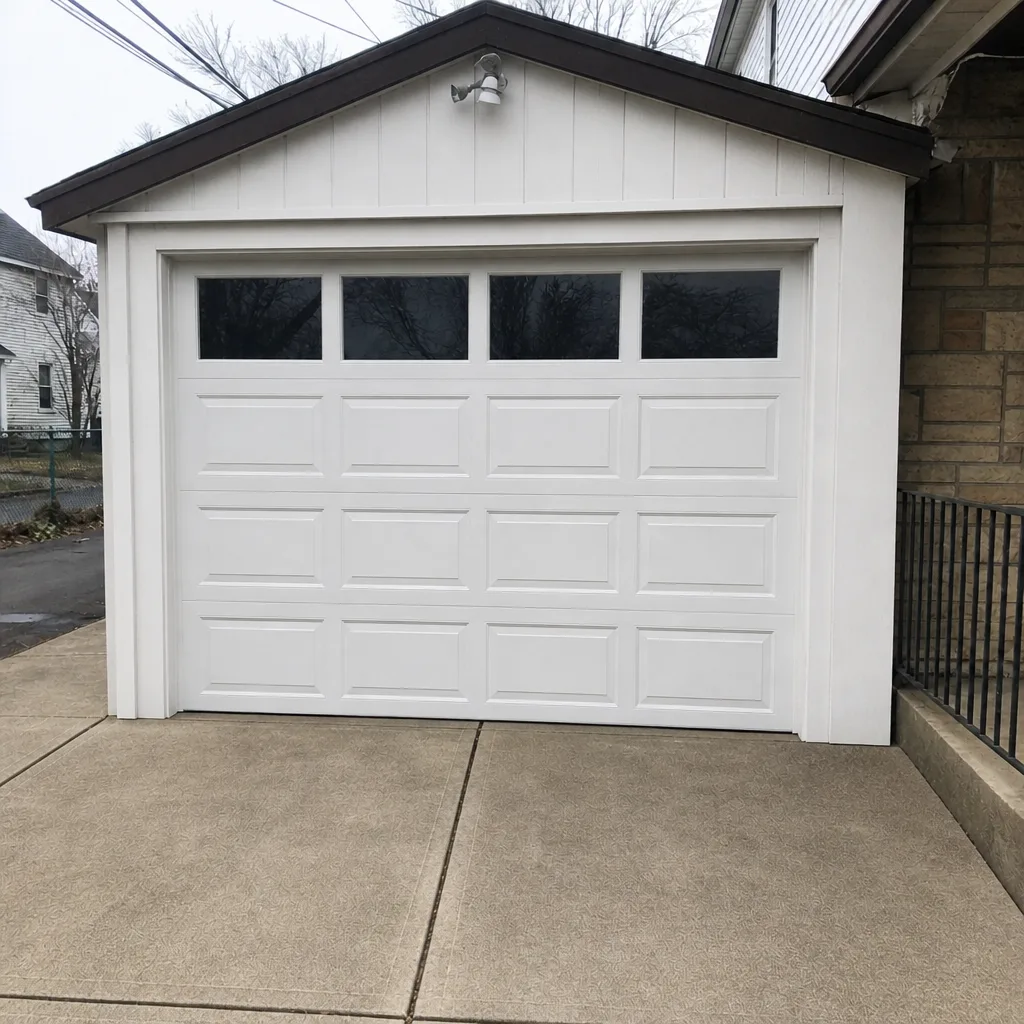 After
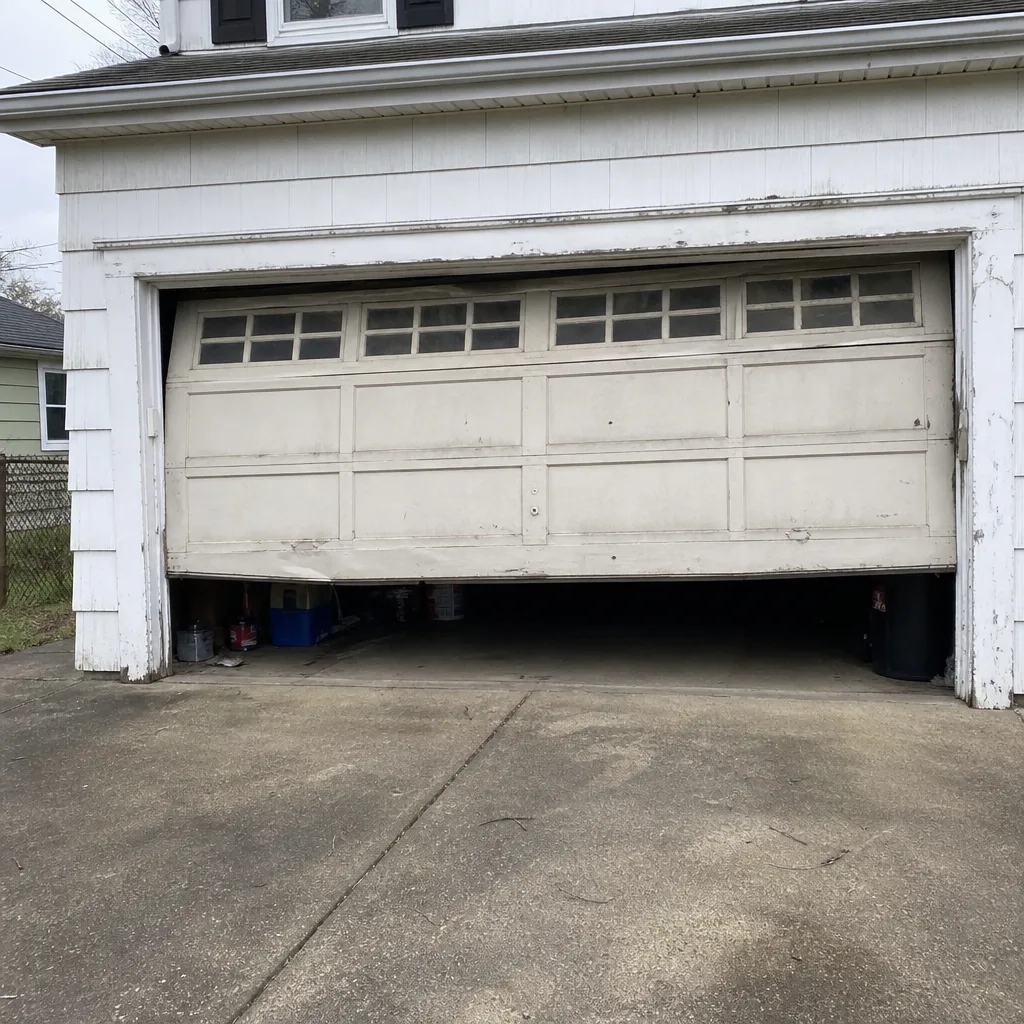 Before
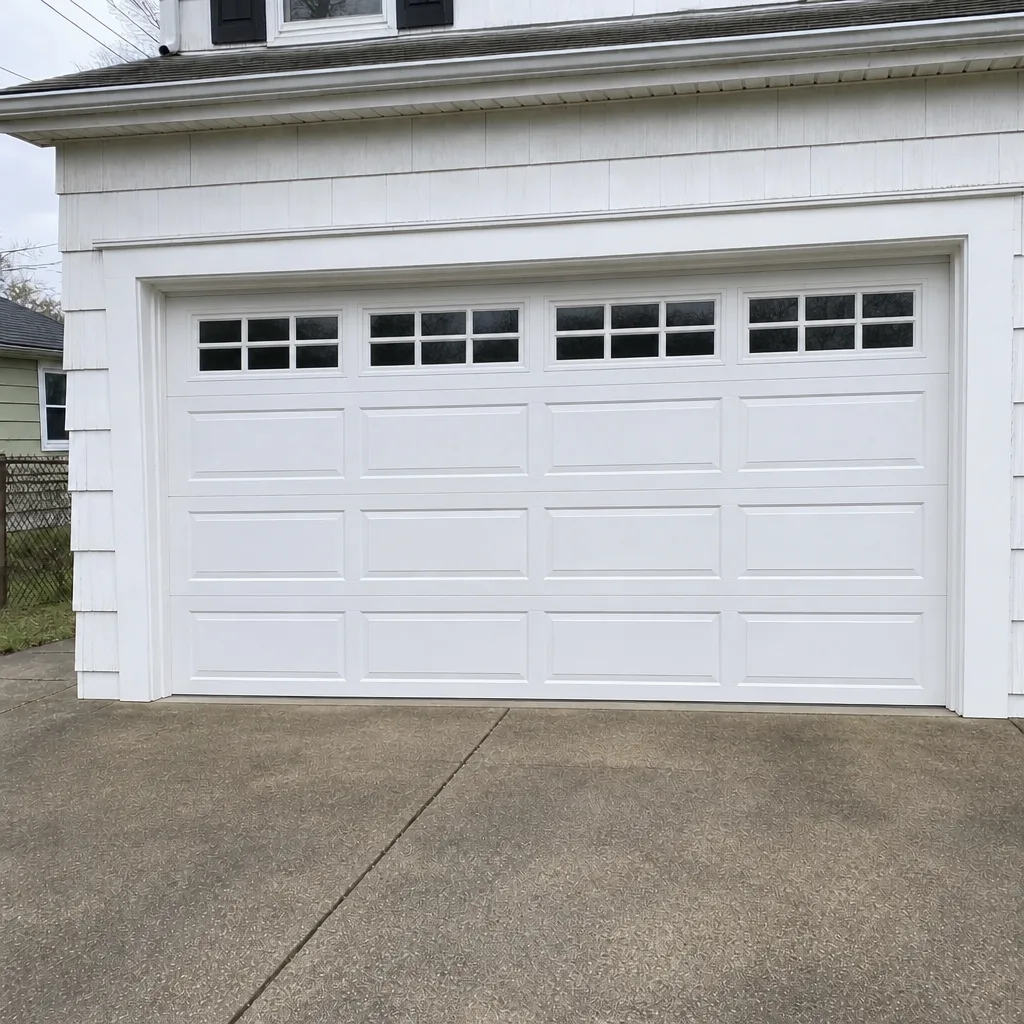 After
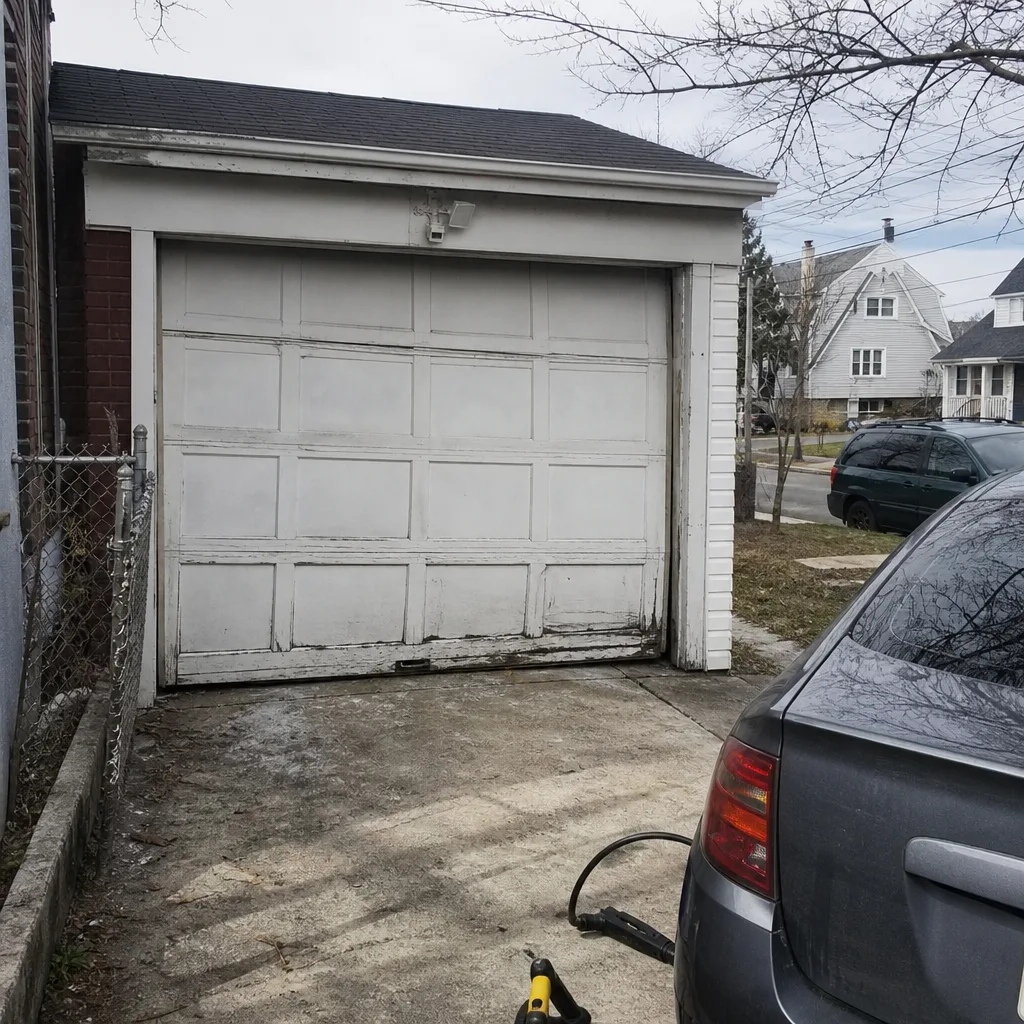 Before
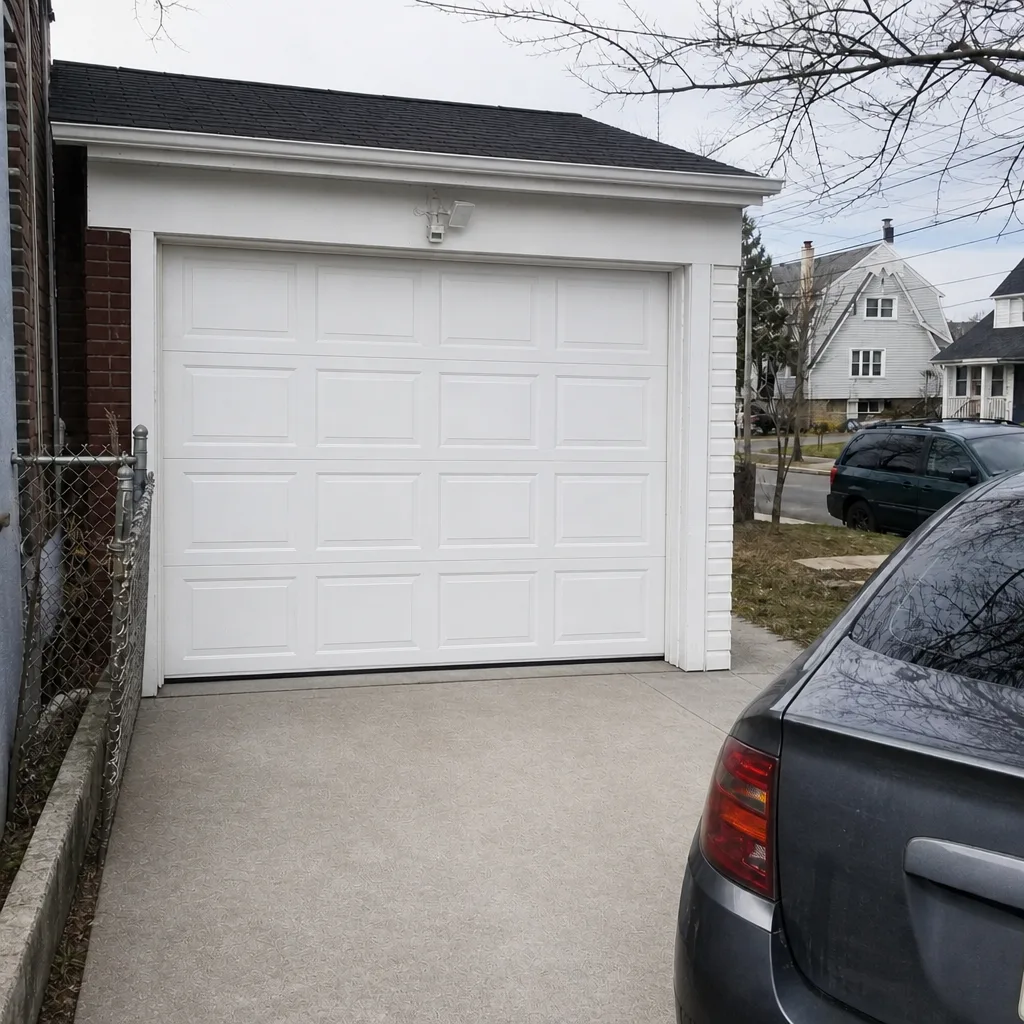 After
When to Call a Professional
Call a professional if any of these are true: the door won’t lift by hand with the opener disconnected, you see a broken spring or a frayed cable, the door has come off its tracks, the auto-reverse or photo-eye safety test fails, or the opener hums without moving the door. Also call if a problem keeps coming back after a reset or a simple fix. Those are the signs a symptom is a deeper cause. For everything else, the checks above will usually tell you what you’re dealing with. Hartwell Garage Door Repair offers free estimates in Elizabeth. Call (833) 946-9108. We answer 24/7, with fast dispatch from 7am to 7pm, Sunday through Friday. The price is written into an estimate and agreed before any work starts, so there’s no surprise at the end.
Frequently Asked Questions
A garage door that won’t open at all is usually a power, remote, safety-eye, or manual-release problem, not a broken door. Check the outlet, test the wall button, confirm the safety eyes are lit and aligned, and make sure the manual release wasn’t left unlatched. If all of those check out, it’s likely a control board, capacitor, or motor issue that a trained technician should diagnose. Call (833) 946-9108 for a free estimate.
It depends on the repair, and we don’t guess at a number before we see the door. Minor fixes like rollers or a safety-eye adjustment cost far less than opener control-board work or spring replacement, and the written estimate sets the final price. For an exact figure on your door, call (833) 946-9108. Estimates are free, and the price is agreed before any work begins.
Yes, we offer same-day service on repair calls when the schedule allows. We answer 24/7, with fast dispatch from 7am to 7pm, Sunday through Friday. Installation and replacement are measured, ordered, and scheduled, so those aren’t same-day jobs. For a repair, call (833) 946-9108 and we’ll get you on the schedule.
No. The estimate we write on site is the price; there’s no invoice surprise at the end. We look at the door, explain what we found, and quote the work before anything starts. If the repair turns into something different once we open it up, we’ll tell you before we proceed, not after. Call (833) 946-9108 for a free estimate.
Yes. Our technicians are licensed and insured, and their experience goes up to 8 years. We work on the equipment you already have, including LiftMaster, Chamberlain, Genie, Clopay, Amarr, Wayne Dalton, Craftsman, and Raynor, so you’re not pushed toward a replacement you don’t need. Call (833) 946-9108 to ask about your specific system.
Seasonal binding in Elizabeth is usually the wood frame, not the door. Summer humidity swells wood jambs and stops, and winter cold shrinks them, which changes how the door seats and drags. It’s often fixed with seals, stops, and alignment rather than a new door. Call (833) 946-9108 and we’ll tell you which one you’re looking at.
The Bottom Line
Most garage door problems in Elizabeth trace back to one of four symptom categories, and knowing which one you’re in tells you whether it’s a quick fix or a call-the-pro situation. Power, remote, and safety-eye issues are safe to check yourself. Broken springs, frayed cables, and doors off their tracks are stop-here jobs that need a trained professional. Run the safety tests before anything else, read your opener’s blink code before you reset it, and don’t force a door that’s fighting you. Repair before replace is almost always the right call. When you’re ready, we’re here.
For help with any garage door problem in Elizabeth, call Hartwell Garage Door Repair at (833) 946-9108 for a free estimate. We answer 24/7. Fast dispatch from 7am to 7pm, Sunday through Friday. Eight brands. One call. And you can start at Hartwell Garage Door Repair to see how we work.
Written by the team at Hartwell Garage Door Repair.