
Last updated November 14, 2026
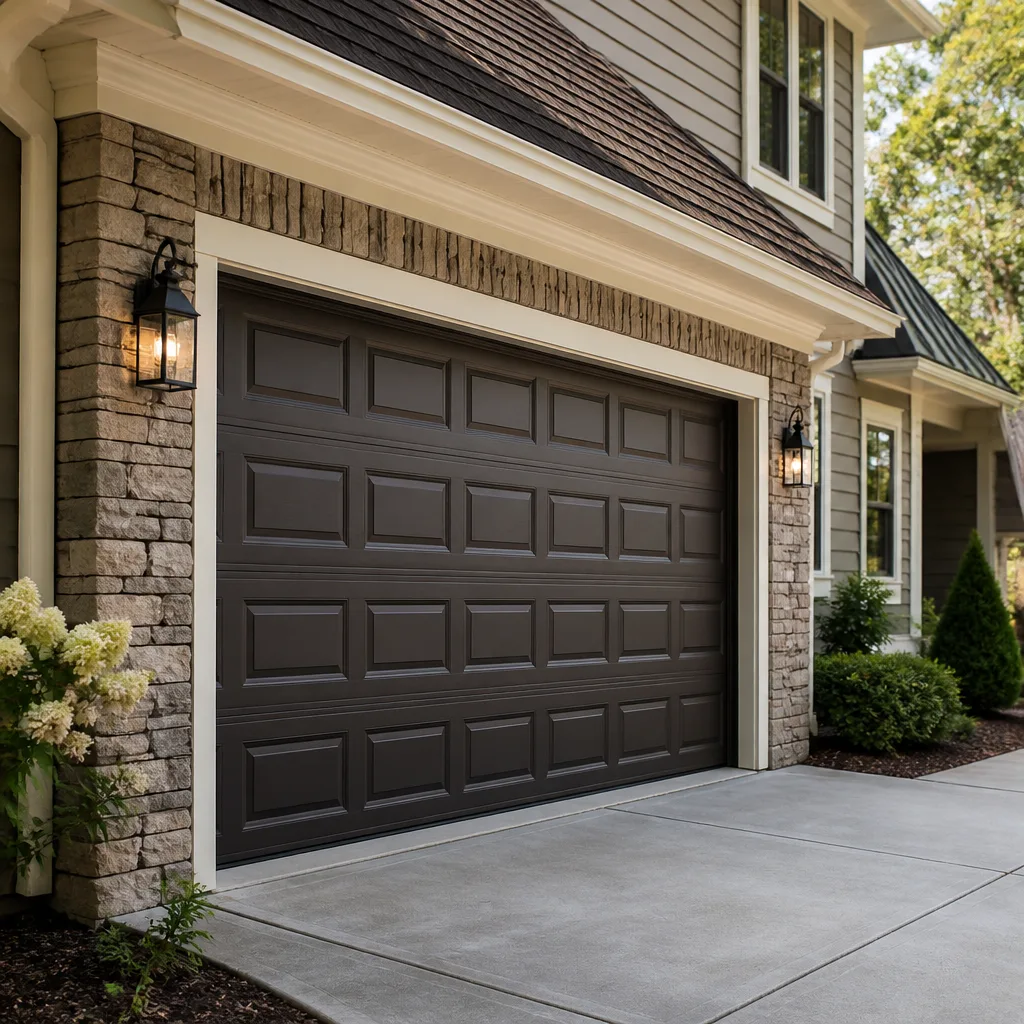 Raised-panel steel
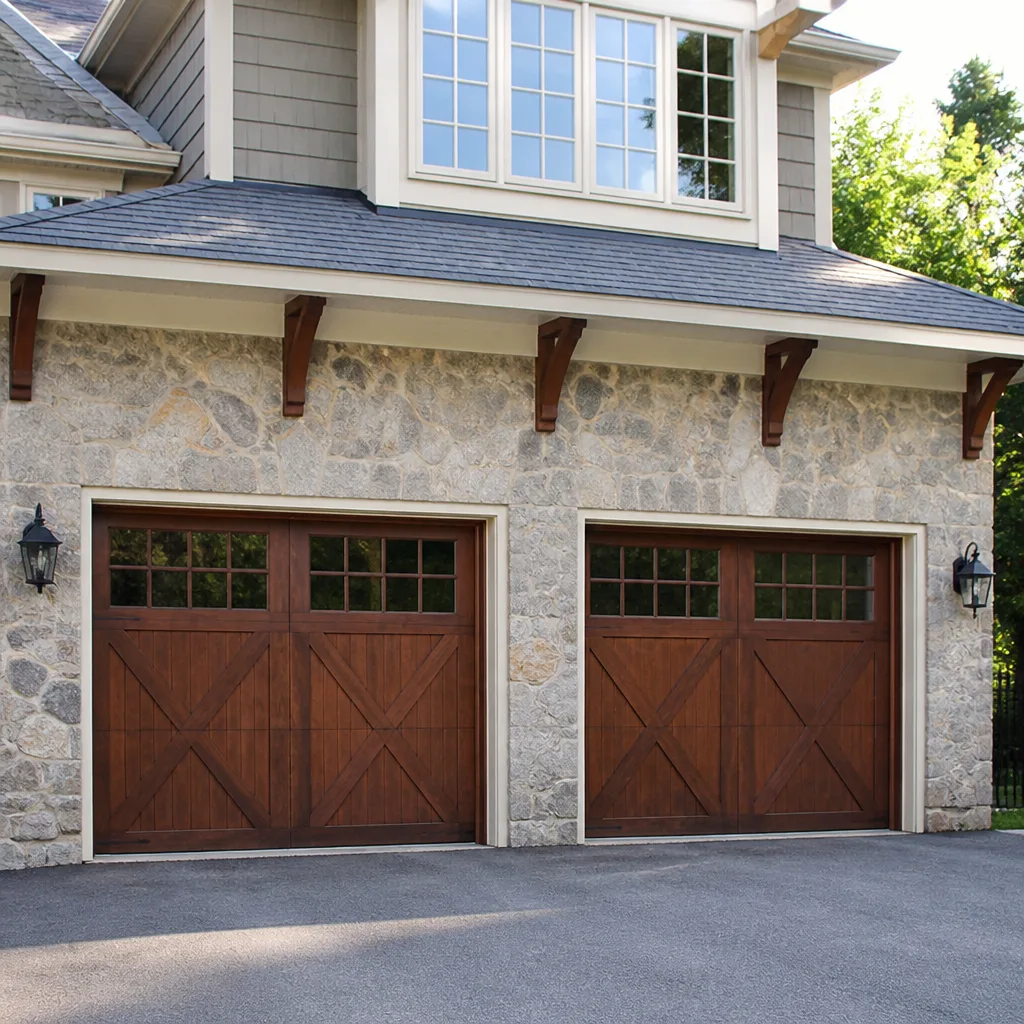 Carriage house
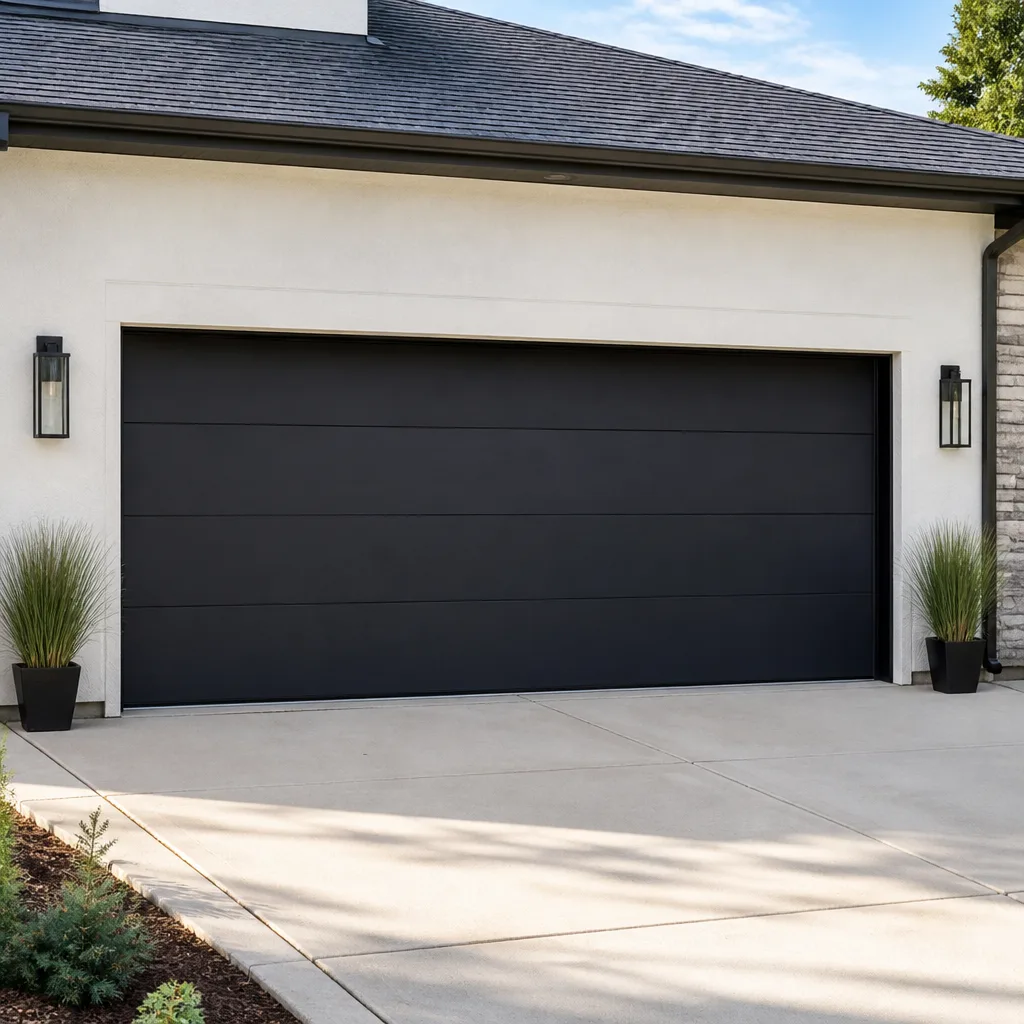 Modern flush
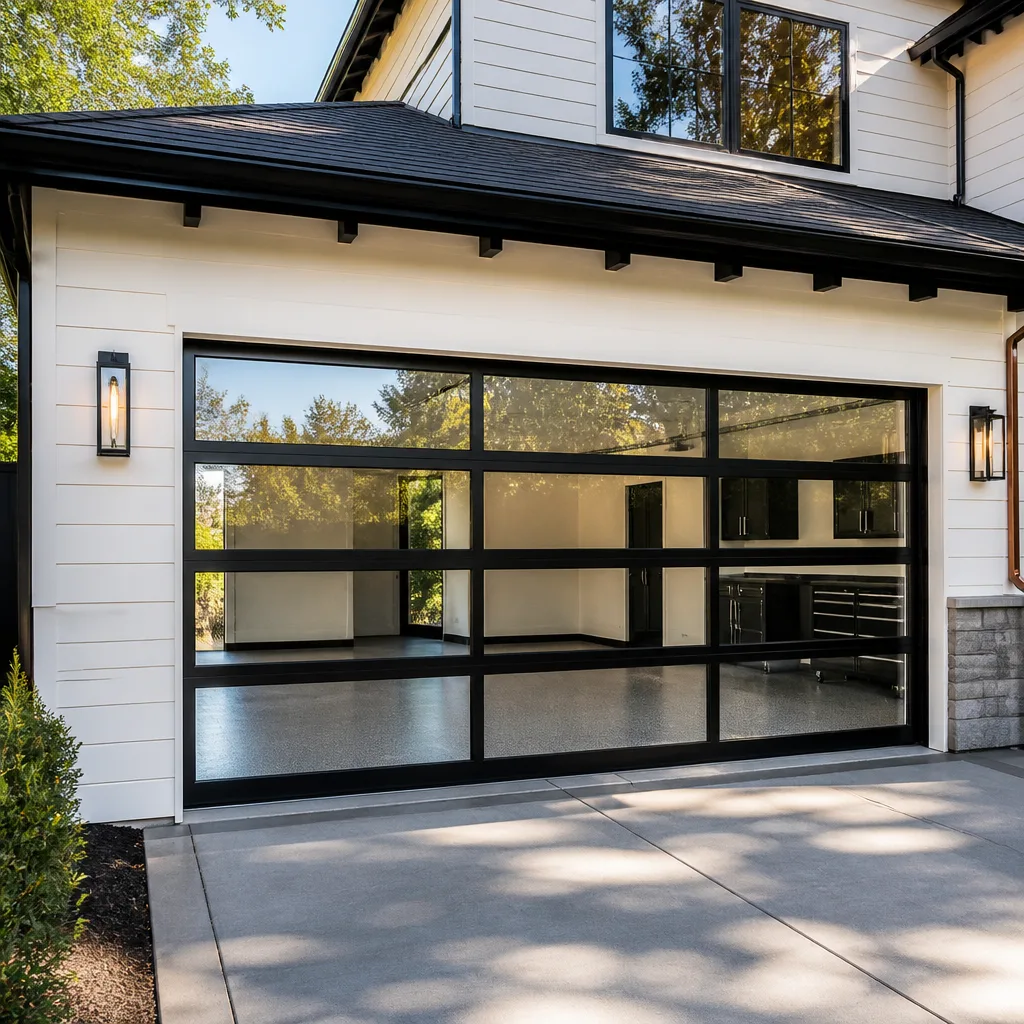 Full-view glass
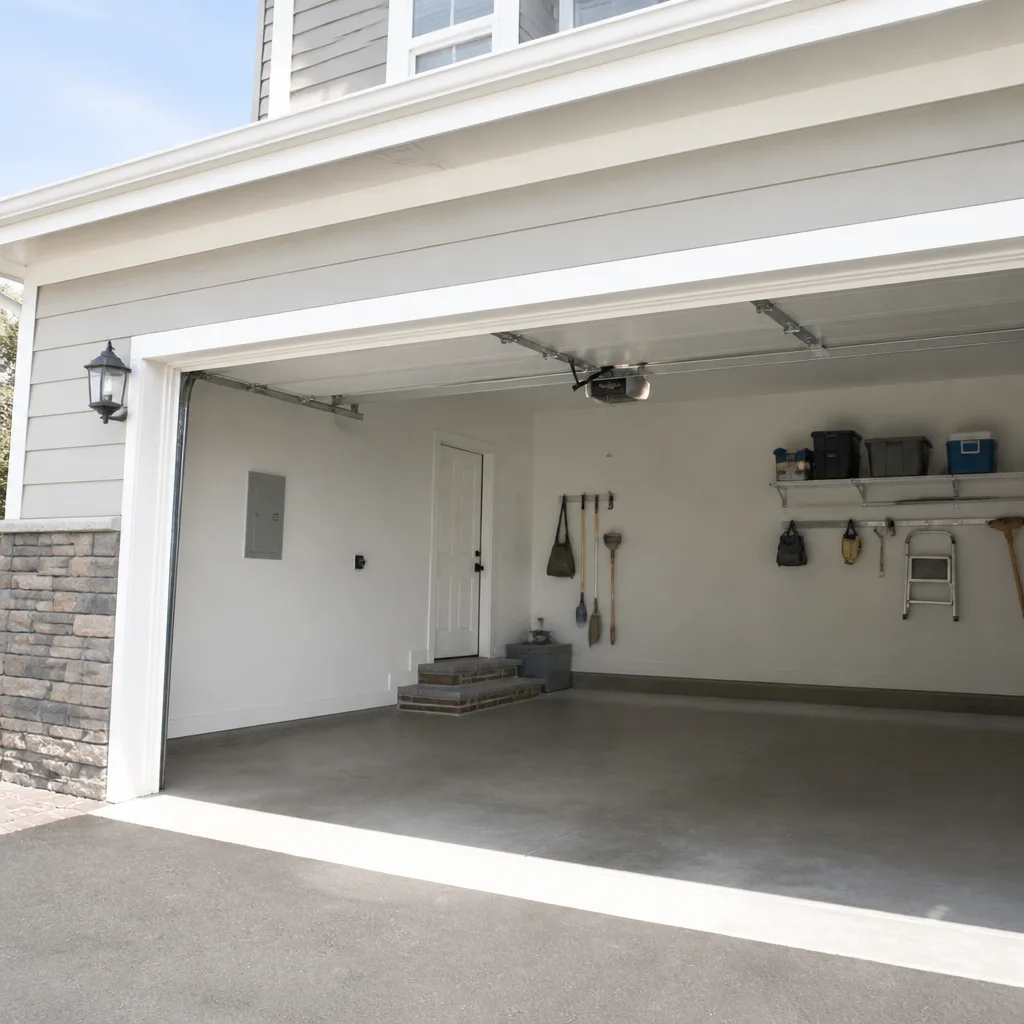 LiftMaster openers
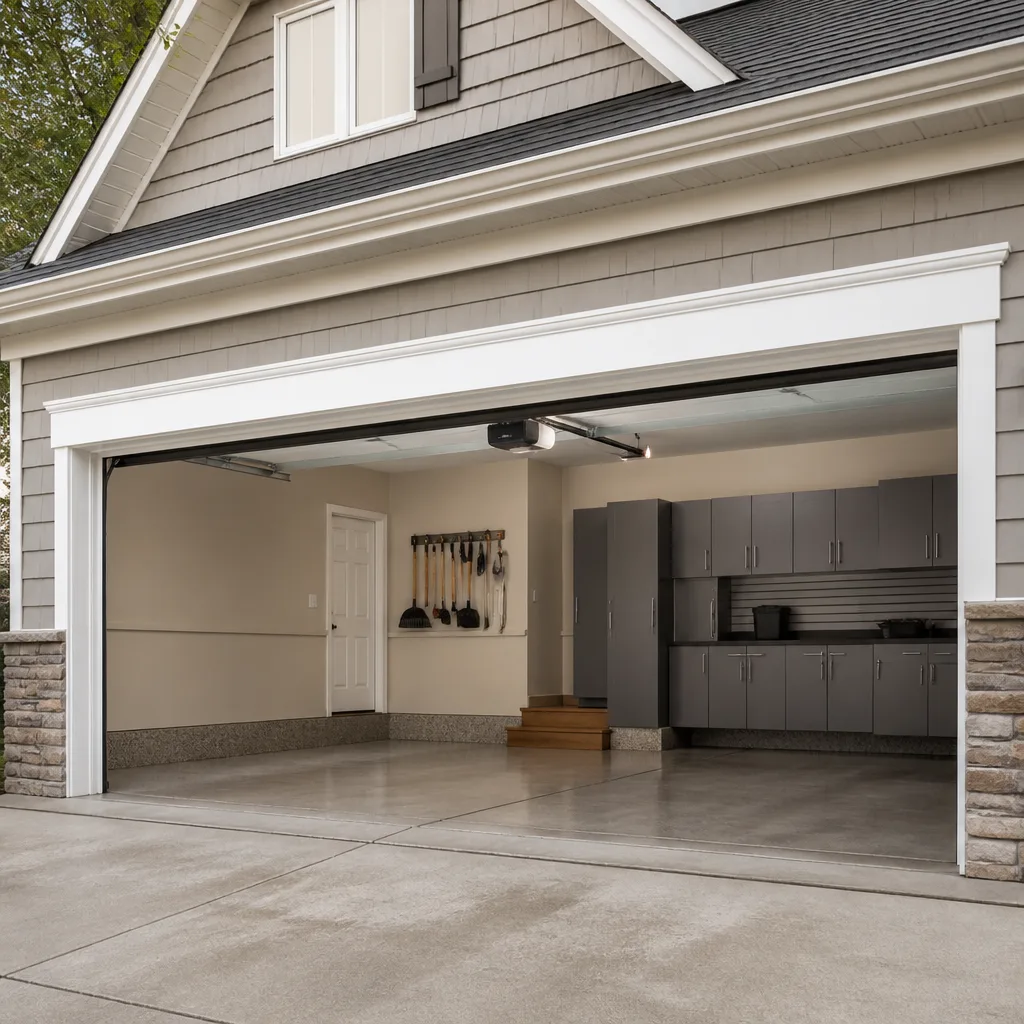 Chamberlain openers
Full 25-point door and opener safety check with every visit - springs, cables, rollers, tracks, and your LiftMaster or Chamberlain opener included
You get a price before we start. It does not change when the pro arrives.
Get your free estimateDIY vs Professional Garage Door: The Elizabeth Homeowner’s Decision Guide
Most garage door advice online divides the world into “easy fixes you can do yourself” and “call a pro for everything else.” That split misses the point. The real line isn’t about how confident you feel with a wrench. It’s about physics. A torsion spring under load stores enough mechanical energy to cause serious injury faster than a human can react, and no amount of care changes that. Everything else on your door is a different conversation. This guide draws that line task by task, with honest cost comparisons, so you know exactly which jobs in an Elizabeth home are worth your afternoon and which ones aren’t worth the risk.
Quick Answer
In most cases, a professional should handle anything involving torsion springs, cables, the opener’s internal motor, or the balance of the door as a whole; these carry real injury risk and are where DIY repairs go wrong most expensively. A competent homeowner can safely handle lubrication, visual inspections, remote and keypad reprogramming, and keeping the tracks clear. For everything in between, a free estimate tells you whether the job is worth attempting yourself. In Elizabeth, the smart move is to know which category your problem falls into before you pick up a tool.
Styles & brands we work with
- Raised-panel steel
- Carriage house
- Modern flush
- Full-view glass
- LiftMaster openers
- Chamberlain openers
Table of Contents
- The physics that decide the DIY line for you
- The definitive list: what’s safe to DIY
- What always requires a professional, regardless of skill
- The real cost comparison for five common jobs
- Why warranty voids make DIY installation risky
- The middle ground: how prep work lowers your bill
- What to do when a previous DIY repair made it worse
- What Elizabeth homes specifically run into
- Common mistakes to avoid
- When to call a professional
- Frequently asked questions
- The bottom line
The physics that decide the DIY line for you
Here’s the part that gets skipped in most DIY tutorials. A torsion spring holds tension precisely so you don’t have to. When that tension releases suddenly, the spring doesn’t give you a moment to step back. This isn’t about being careless or inexperienced. It’s that the released energy moves faster than human reaction time, and the consequences are severe. The same holds for the cables under tension on the sides of the door: a snapped cable whips with force that can take a hand or worse. That’s the one place the DIY line is non-negotiable.
There’s an honest reason so many gates stay shut. We hear from Elizabeth homeowners who watched a video, felt confident, and got most of the way through a spring project before realizing the winding bars weren’t seated right. Others have already replaced a spring themselves and now the door slams down because the tension is wrong and they can’t safely correct it. The problem isn’t competence. It’s that the task doesn’t give you a second chance.
Set against that risk, the rest of your door is far more forgiving. Lubrication, sensor alignment, track cleaning, and remote programming are all things a careful homeowner can do without putting hands near stored tension. The distinction is simple: if the job involves a component holding stored energy from the spring or the cables, it’s a professional call. If it involves parts you can touch with your eyes open and no tension behind them, it’s fair game. That single rule covers most of what follows.
For anything beyond the safe list, our garage door repair team in Elizabeth starts with a free estimate, so you can weigh the professional route before attempting anything risky.
The definitive list: what’s safe to DIY
A competent homeowner can reasonably handle a small set of garage door chores, and doing so keeps the door in better shape between professional visits. These jobs don’t require releasing tension or opening the opener housing, so the risk stays low. We always recommend starting here, because a surprising number of “broken door” calls turn out to be one of these simple issues.
Safe, reasonable tasks for most homeowners:
- Lubricating the moving parts that are meant to be lubricated: rollers, hinges, the hinges’ pivot points, and the opener chain or screw drive where the manual specifies it. Use a proper garage door lubricant, not WD-40.
- Clearing the tracks of debris, leaves, and the gritty buildup that collects in an Elizabeth garage through humid summers.
- Realigning the safety sensors at the bottom of the tracks if they’re bumped out of line, then confirming the door reverses when something crosses the beam.
- Reprogramming remotes and keypads, and changing remote batteries. The instructions for Chamberlain and Genie remotes are widely published and genuinely homeowner-friendly.
- Visual inspections: checking for frayed cables, worn rollers, and gaps in the weather seal around the bottom of the door.
- Tightening visible bracket bolts that have worked loose, as long as they aren’t the brackets holding the spring or cable tension.
Here’s the practical order for a safe once-over:
- Close the door and look along the bottom seal for daylight or gaps.
- Run the door up and down and listen for grinding, popping, or hesitation.
- Check each roller and hinge for wobble or wear.
- Wipe down the tracks and inspect the sensor lenses for dirt.
- Test the reverse feature by placing a board in the door’s path.
If any of these checks turn up a snapped cable, a sagging door, or a spring that’s visibly stretched or broken, stop there. That’s the boundary of the safe zone.
What always requires a professional, regardless of skill
Some jobs are professional territory no matter how handy you are, not because of difficulty but because the danger is built in. The first and clearest is anything involving torsion springs. The second is anything involving the cables under tension. The third is opening the opener motor itself. For Elizabeth homeowners across neighborhoods like Elmora and Peterstown, a door that won’t lift is usually one of these three.
Jobs that need a trained professional every time:
Spring replacement. A broken torsion spring means the door is no longer balanced, and the remaining spring carries dangerous tension. A matched pair is almost always replaced together, so the job involves winding and unwinding two springs under controlled tension. This is the single most dangerous item on any door.
Cable replacement. Cables run under tension and can whip when they release. A frayed cable should never be handled yourself.
Opener motor and internal repair. Opening the housing voided most warranties the moment you unscrewed the cover. The internal gear assembly, drive gear, and control board are where we spend a lot of time on Chamberlain and Genie units, because these are the parts that fail with age.
Panel replacement and door balance. A bent or cracked bottom panel changes the door’s weight distribution, and the springs must be matched to that weight. Swapping a panel yourself without resetting the spring tension can leave the door unbalanced and unsafe.
This is where the opener specialists earn their keep. Many general handymen avoid openers because the motor, logic board, and smart-home pairing take specific know-how. Our technicians have up to 8 years of experience on those systems, and garage door opener repair covers everything from a dead logic board to a wi-fi opener that will not hold its connection. If a job on the list above appears on your door, the right move is a call, not a tutorial.
The real cost comparison for five common jobs
The honest answer is that DIY saves money on the small jobs and costs more than it saves on the big ones once you factor time, tools, and redo risk. The comparison below is what we’ve seen across Elizabeth homes. The key to reading it: a torsion spring price is for one spring, and a matched pair is usually replaced together, so a pair runs about twice the per-spring range. In every case, the written estimate sets the final price, and it’s quoted and agreed before any work starts.
Five of the most commonly attempted DIY jobs, compared:
- Spring replacement. Professional labor, part, and resetting the balance. For a homeowner, the tool cost alone (winding bars, proper springs) plus the safety risk makes this one that should never be attempted. A broken spring leaves the door unmovable and dangerous until fixed.
- Opener repair (motor or gear). The part is often cheaper than expected; the diagnosis is where the money goes. The DIY attempt risk is a voided warranty and a second broken part. If the unit is under warranty and the issue is internal, opening it yourself is the costliest mistake on the list.
- Panel replacement. The panel itself is the biggest line item. The hidden cost of DIY is that a new panel of different weight throws the door out of balance, and you pay to correct it later. Matching a Clopay or Amarr profile exactly, and resetting the springs to it, is the professional route.
- Cable replacement. Low part cost, high hazard. There’s no reasonable DIY version of this job.
- Remote and sensor troubleshooting. Genuinely DIY-friendly. A sensor realignment or a remote reprogram costs nothing but a few minutes, and it’s the one item where we routinely tell homeowners to try it first.
The pattern is consistent: the jobs that look expensive often are because the work is technical, and the jobs that look simple often are. A free estimate is the fastest way to know which side your problem falls on, and calling for a number costs you nothing. You’ll know your actual price before anything gets touched.
Why warranty voids make DIY installation risky
Warranty coverage on a new opener or door is only as good as the documentation behind the install. Most manufacturers require professional installation to keep the coverage valid, and when a claim comes up, the first thing the manufacturer looks for is proof that a qualified technician did the work. That’s a real financial exposure, not a scare tactic. A homeowner who installs a new Genie opener to save the labor and then has a gear failure months later may find the coverage doesn’t apply.
This matters most on two categories of purchase:
- New openers. The drive gear and logic board are the parts most likely to fail, and both sit behind the warranty.
- New doors and panels. A door installed out of balance or with the wrong spring match can wear out its rollers and hinges early, and the installer’s work is part of what’s covered.
Installation is also measured, ordered, and scheduled work, not a same-day fix. Door width, headroom, ceiling clearance, and the spring’s weight rating have to be measured before anything is ordered. If you purchase your own door and ask us to hang it, we can do that, but we’ll document the install so your manufacturer’s coverage has a traceable record. A new door from Clopay or Amarr is a long-term purchase, and protecting that investment is part of the job.
For full installation and replacement, we don’t promise same-day turnaround; that work is measured and scheduled. What we do promise is a free measure and a written price, and that’s what Hartwell Garage Door Repair builds every install around. When you’re ready to compare, our team will help you get the right match the first time.
The middle ground: how prep work lowers your bill
There’s a zone between “do it yourself” and “hand it all over” where a homeowner’s prep work genuinely reduces the bill. None of it involves tension parts. All of it makes the professional visit faster, and a faster visit is a smaller bill. This is the part of the job the cost-comparison articles leave out.
Homeowner prep that reduces service time:
- Clear the garage bay and the driveway. A tech who can walk the full track without moving boxes and bikes gets to the diagnosis faster.
- Write down the symptom and when it started. “It goes up about a foot and stops” is a more useful note than “it doesn’t work.” Add whether the door is slow, jerky, or just won’t move.
- Note the brand and model. Knowing you have a Chamberlain or Genie unit, and the model number from the opener’s label, means we can arrive familiar with the exact system.
- Test the obvious first. Confirm the wall switch and remote both work, and that the sensors aren’t blocked. If the door works from the wall but not the remote, that’s a very different job than a dead door.
- Gather the old paperwork. If the door was installed recently, the installation receipt and warranty info tell us what’s covered.
Each of those saves the technician time, and time is what you’re paying for. The more accurate the picture of your problem, the tighter the estimate. A homeowner who knows their equipment and their symptoms gets a different, faster visit than one who says “the door broke.”
What to do when a previous DIY repair made it worse
If a previous repair you attempted is now making the problem worse, tell the technician plainly what was done and why, then get out of the way and let the diagnosis proceed. There’s no embarrassment in it. We handle this regularly in Elizabeth, and a failed DIY attempt is a normal part of a repair history, not a judgment on the homeowner.
The reason it matters is safety and cost. If the springs were re-tensioned by hand and the door now closes too hard, the technician needs to know that’s a known imbalance, not a new symptom. If the opener was opened and a gear was replaced, the warranty situation changes. If a cable was swapped and now the door drags, that’s a track and balance issue, not a spring issue. Every one of those clues makes the visit faster and the estimate tighter. Hold back the history and the technician may chase a symptom that isn’t the real cause.
Here’s how to explain what happened, in order:
- What was the original problem?
- What did you replace or adjust?
- What changed after the repair?
- Does the issue happen on the way up, the way down, or both?
- Is it constant, or intermittent?
That’s a complete picture, and it lets the technician check the right things first. If a hand-tensioned spring is the issue, a trained eye resets it. If the door’s balance is off because a panel was swapped, we’ll re-balance it. The fear of being judged is the only thing standing between you and a correct diagnosis, so skip the fear.
What Elizabeth homes specifically run into
Elizabeth homes are a spread of older single-families, newer subdivisions, and multi-family properties, and the garage door stock reflects that. The older doors in neighborhoods like Elmora and Elizabethport often run on mechanical opener platforms that predate the current smart-home gear, while newer builds carry Chamberlain, Genie, or LiftMaster units with app pairings. That spread is exactly why we work on what you already have rather than steering you toward one brand.
The climate matters too. Summers bring heat and humidity that work on wood-framed doors and weather seals, and the freeze-thaw swings across a northeast New Jersey winter can make a marginal seal leak or a slightly loose hinge turn into a draft and a rattle. The result is an annual rhythm: doors that felt fine in autumn start sticking in February. It’s rarely a single dramatic failure. It’s a small wear item reaching the end of its life.
If you’re searching for a garage door professional in Elizabeth, look for a few things: someone who can name and service your specific system, who gives a written price before work begins, and who can handle repair, opener work, and installation without you calling three different contractors. That’s the breadth we built Hartwell around. Eight brands. One call. For a look at the neighborhoods we work in and what local homeowners tend to face, our Elizabeth page covers the area in more detail. If you’re weighing DIY against a call, start with a free estimate and let the number decide.
See the difference
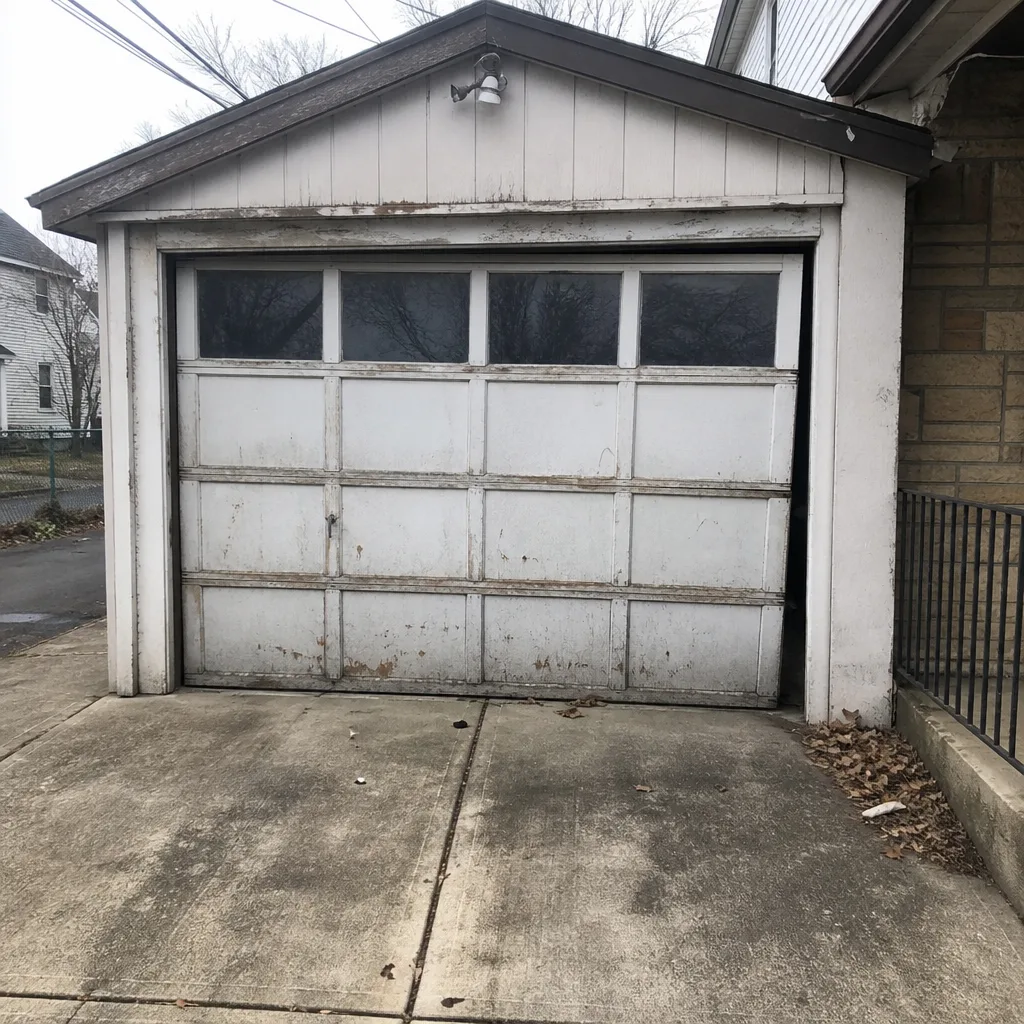 Before
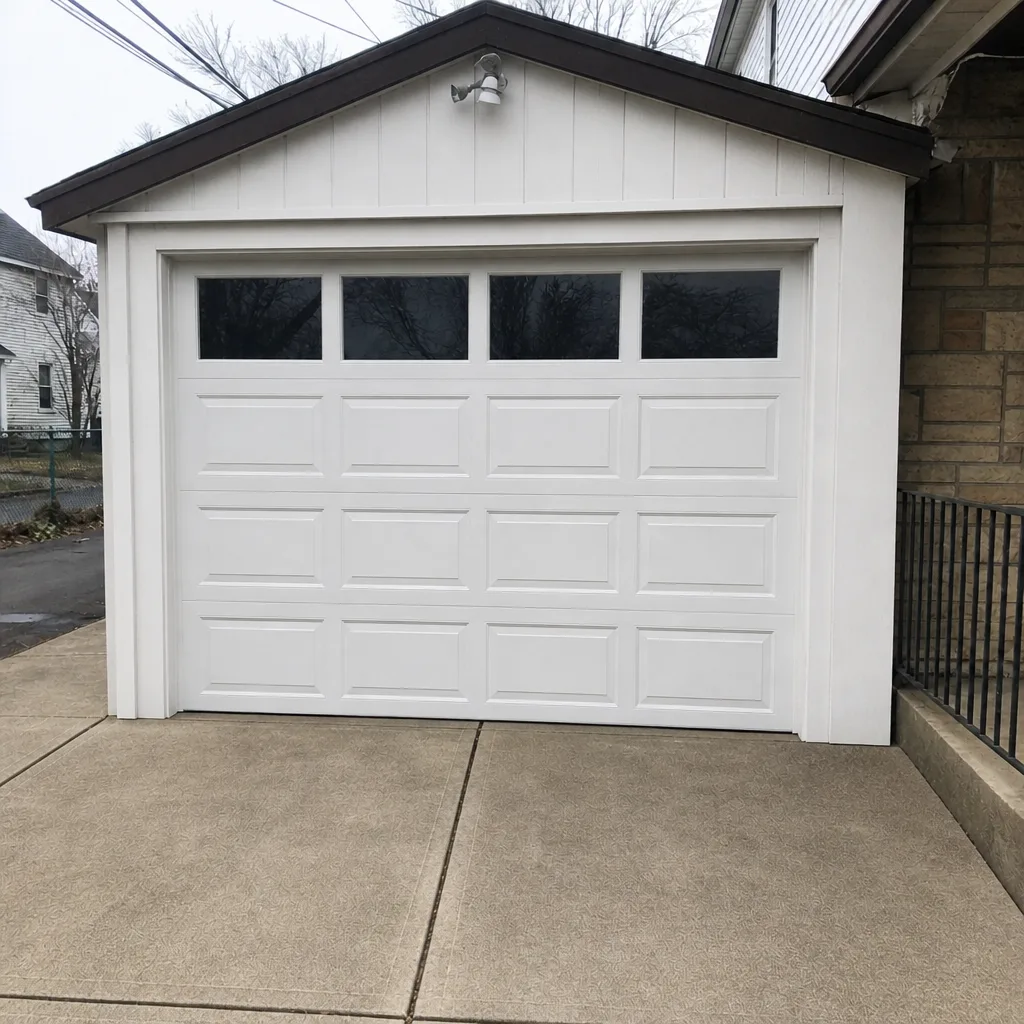 After
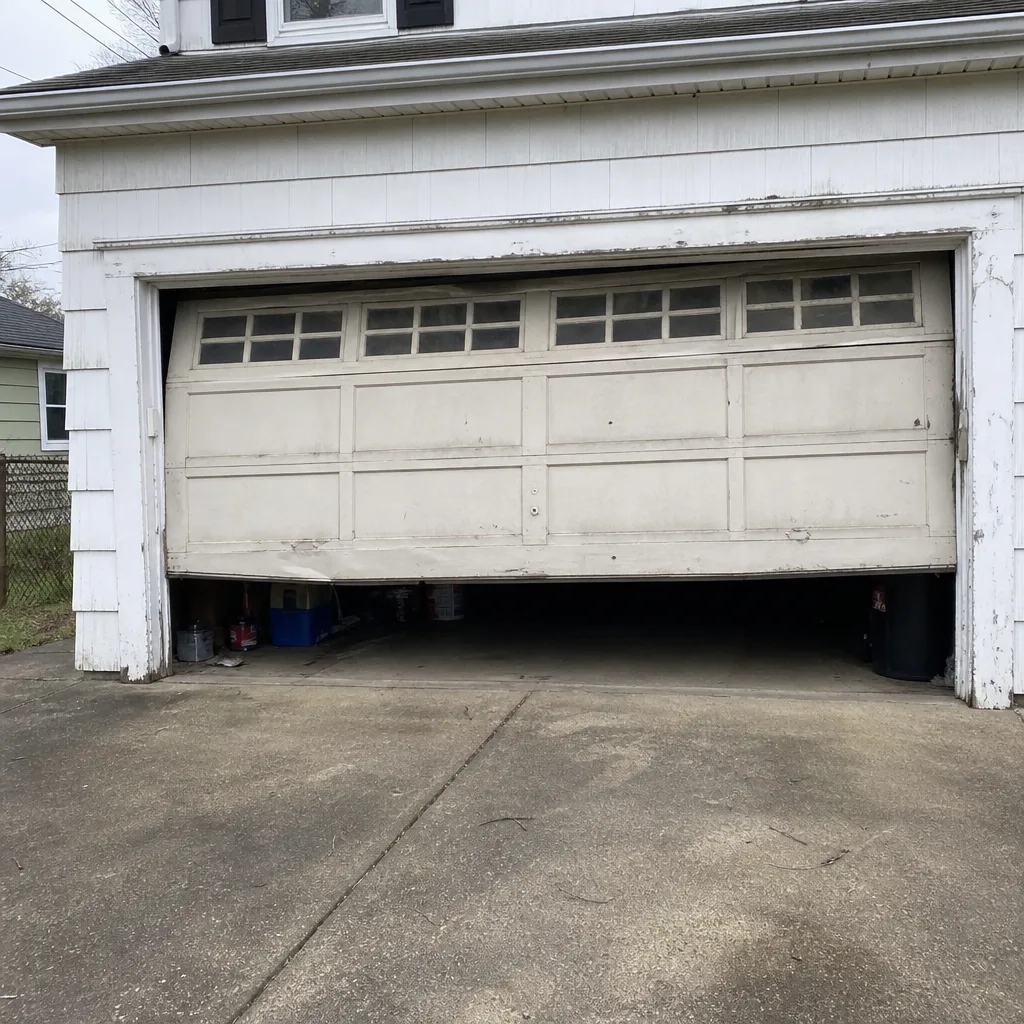 Before
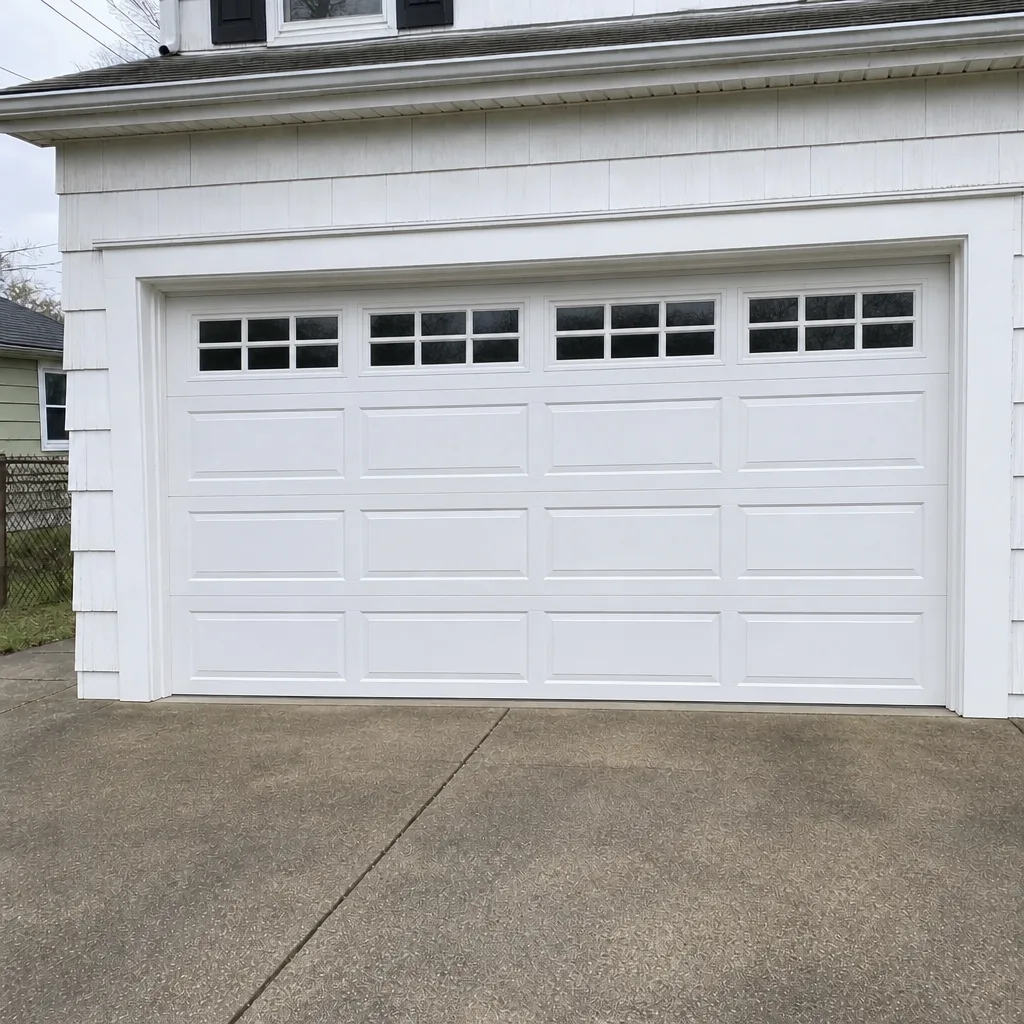 After
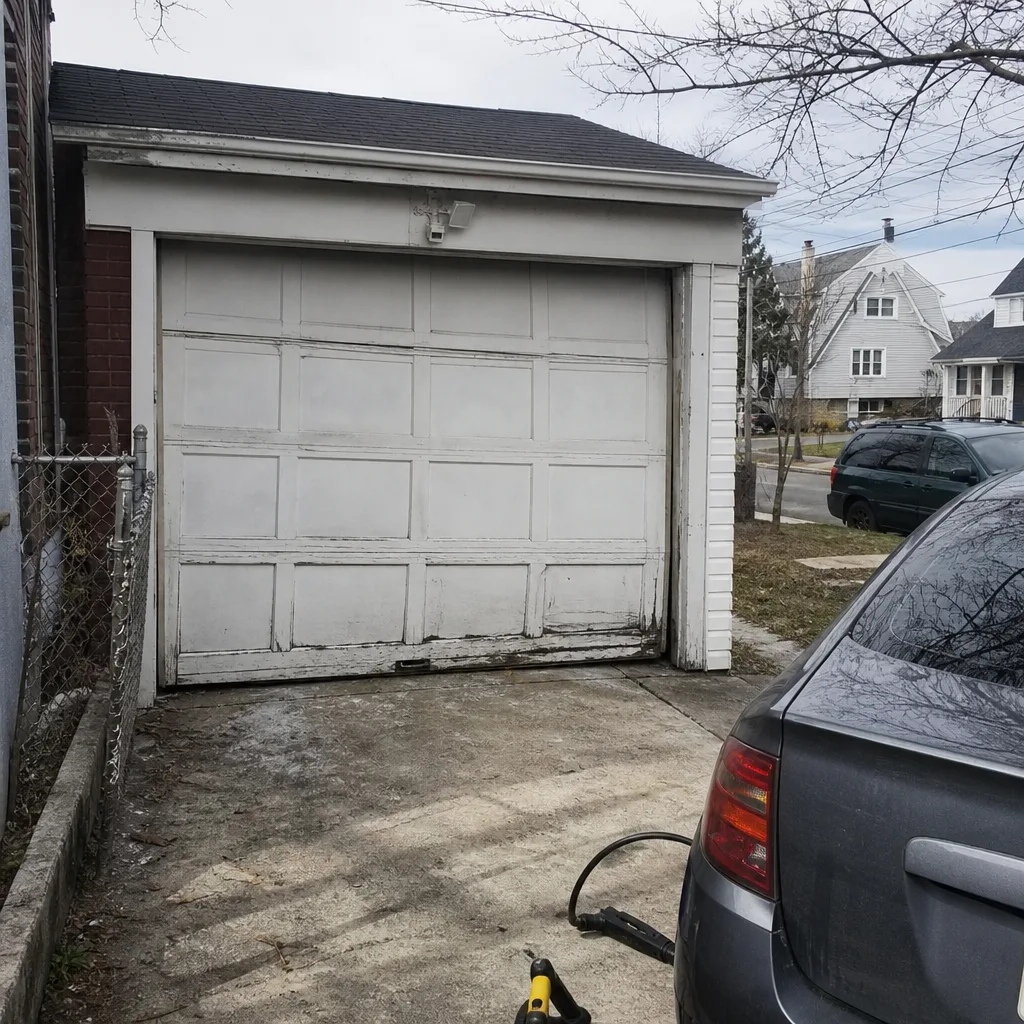 Before
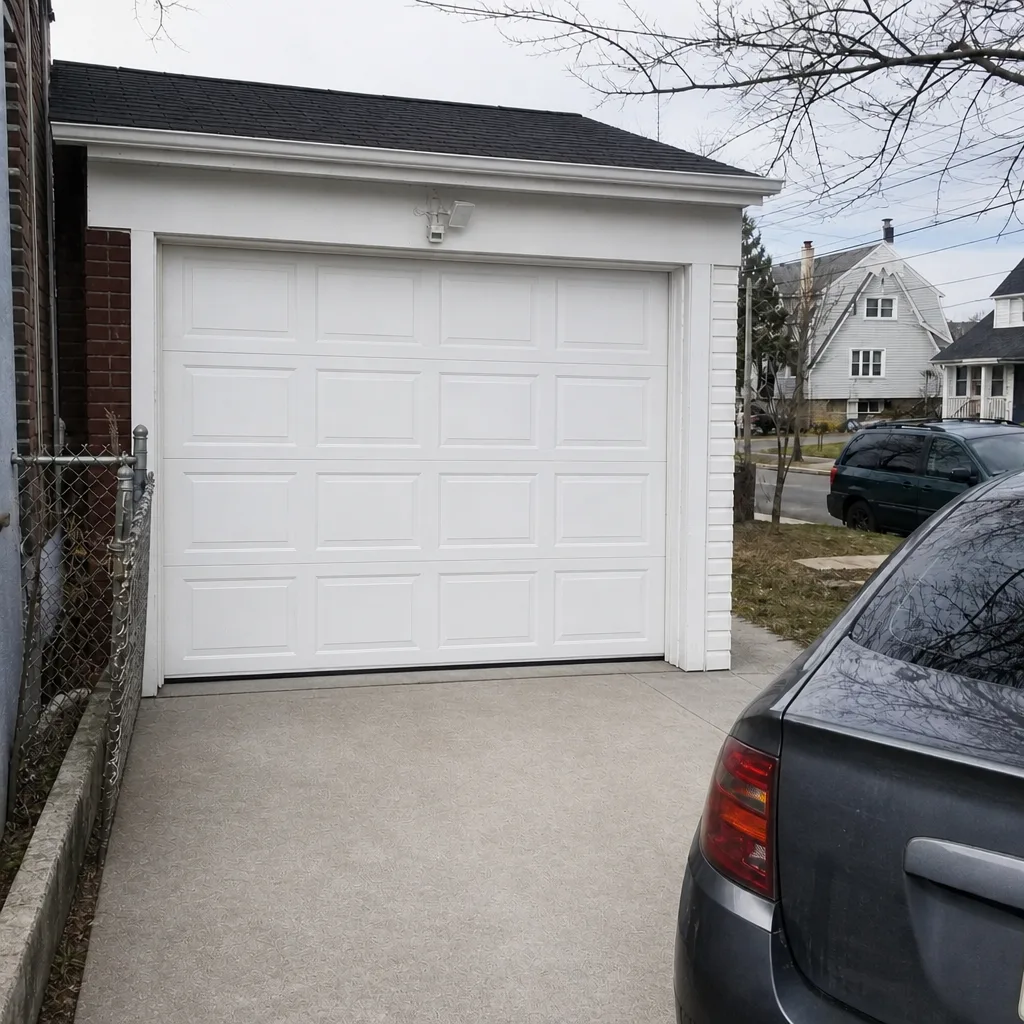 After
Common Mistakes to Avoid
- Attempting a torsion spring yourself. This is the single most common and dangerous DIY mistake, and it’s the one that sends people to the emergency room. The energy stored in that spring doesn’t allow reaction time.
- Opening the opener housing on a unit under warranty. Unscrewing the cover can void coverage on the very parts most likely to fail, and then you’re paying for both the part and the labor.
- Using WD-40 as a garage door lubricant. It’s a solvent, not a lube, and it can strip the proper lubricant from your rollers. Use a dedicated garage door lubricant.
- Replacing one spring when the pair should be matched. A single new spring next to an old one throws the door out of balance and shortens the life of both. A pair is usually the right call.
- Tightening every bolt in sight. Some brackets hold spring or cable tension, and loosening one at the wrong moment is dangerous. Stick to visible bolts that aren’t under tension.
- Installing a new door or opener without documenting it. A professional install record is often what keeps manufacturer warranty coverage valid, and a DIY install can leave you holding the failure.
- Hiding a previous DIY repair from the technician. A partial history slows the diagnosis and can raise the bill. Tell them what happened.
When to Call a Professional
Call a professional when the problem involves a broken or visibly stretched spring, a cable that’s snapped or frayed, a door that’s come off its tracks, a motor or logic board inside the opener, or a door that’s out of balance and slams or drags. Also call if a previous DIY attempt made the problem worse. These are the tasks where the physics outweigh any confidence you bring to the job. On the other side, lubrication, sensor alignment, remote programming, and track cleanup are yours to handle whenever you like. If you’re not sure which category your door falls into, a free estimate settles it. Hartwell Garage Door Repair offers free estimates in Elizabeth, and the price is quoted and agreed before any work starts. Call (833) 946-9108. We answer 24/7. Fast dispatch from 7am to 7pm, Sunday through Friday.
Frequently Asked Questions
No. Torsion springs store enough energy to cause serious injury faster than you can react, and cable tension carries the same risk. This is the one job on any garage door that should always go to a trained professional, regardless of how handy you are. For spring and cable work in Elizabeth, call (833) 946-9108, and we’ll give you a free written estimate before anything is touched.
Spring repair is priced per job by written estimate, and a matched pair is typically replaced together rather than one spring alone. Because the pair is standard, expect the pair to cost more than a single spring. The written estimate sets the final price and you approve it before work begins. Call (833) 946-9108 for an exact quote; estimates are free.
It can. Most manufacturers require professional installation to keep coverage valid, and a claim is often denied when there’s no proof a qualified technician did the install. The drive gear and control board inside a new opener are exactly the parts the warranty protects. Installation is measured and scheduled, not same-day, but we document the work so your coverage has a traceable record. Call (833) 946-9108 to book a free measure and written price.
Lubricating moving parts, clearing the tracks, realigning safety sensors, reprogramming remotes, and doing a visual inspection are all reasonable for a careful homeowner. None of them involve releasing tension or opening the opener housing. If a check turns up a broken spring, snapped cable, or a door that’s out of balance, stop and call us at (833) 946-9108 for a free estimate.
Tell the technician exactly what you did and what changed afterward, then let the diagnosis proceed. A failed DIY repair is a normal part of a repair history, and it makes the visit faster because it points to the real cause. There’s nothing to be embarrassed about. Call (833) 946-9108 and we’ll give you a free estimate before any work starts.
Repair is the right call far more often than replacement, especially when the issue is a single component like a spring, cable, roller, or the opener’s motor. Full replacement makes sense when the door’s structure is compromised or the panel is beyond matching. We work on what you already have, so the recommendation follows the door, not a preferred product line. Call (833) 946-9108 for a free look and a written price.
The Bottom Line
The DIY vs professional question for a garage door has a clear answer once you follow the physics. Springs and cables are never a homeowner job, and no amount of confidence changes that. Opener internals and door balance belong to a trained technician, and a documented install protects your warranty. On the other side, lubrication, sensors, tracks, and remotes are genuinely yours to handle, and doing them keeps a small problem from growing. The middle ground is real: clear the bay, note your symptoms and your brand, and a professional visit gets faster and cheaper. In Elizabeth, the safest way to decide is to start with a free estimate and let the number guide you.
The right answer for your door usually shows up in one short conversation. For repair, opener work, or a measured install, our technicians have up to 8 years of experience across LiftMaster, Chamberlain, Genie, Clopay, Amarr, Wayne Dalton, Craftsman, and Raynor, and we’ll tell you honestly whether the job is worth doing yourself. Call (833) 946-9108 for a free estimate. We answer 24/7. Fast dispatch from 7am to 7pm, Sunday through Friday.
Written by the team at Hartwell Garage Door Repair.